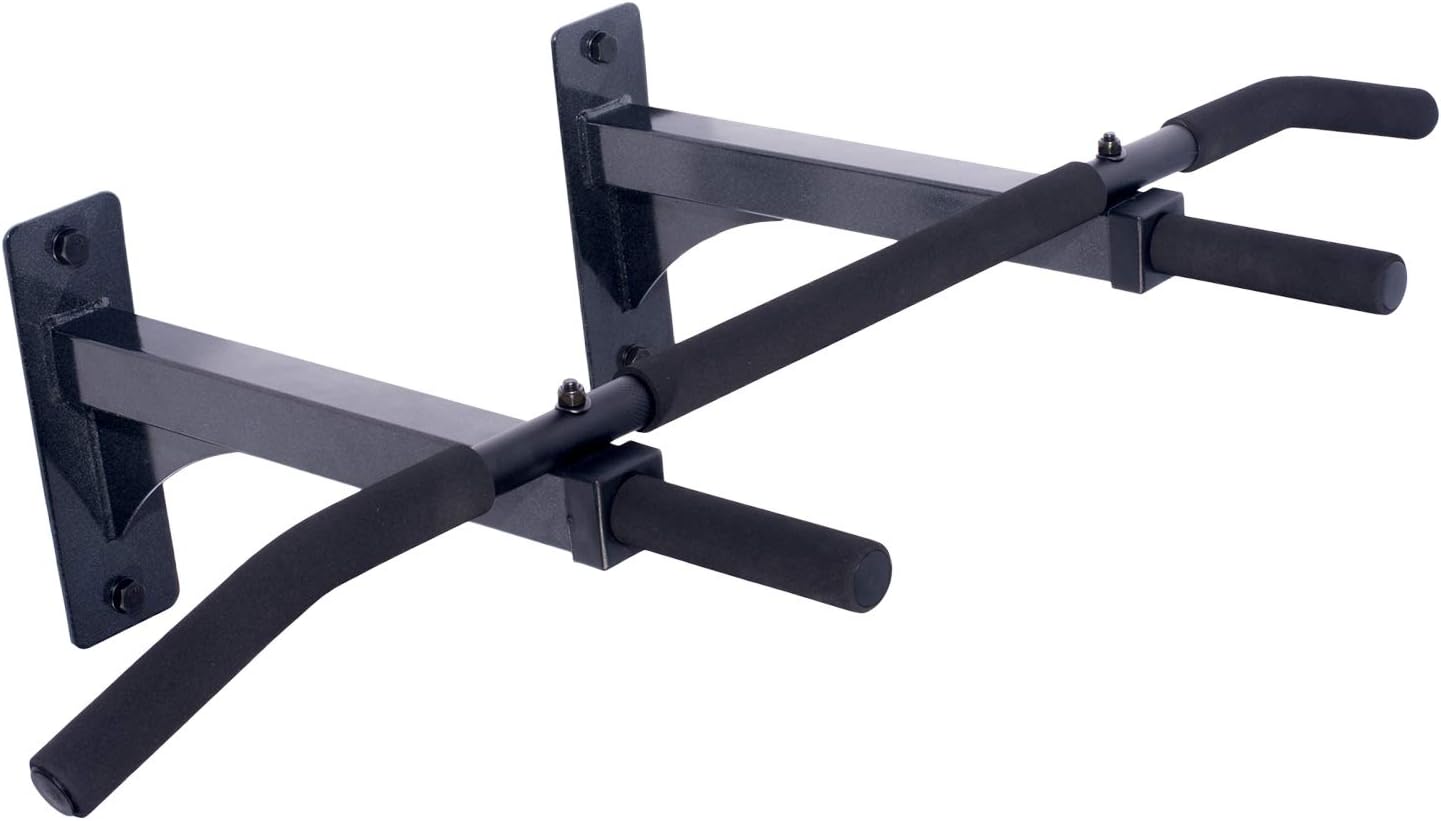
In this video I go over the pieces that come in the box as well as walking through the entire install process. In order to keep the video under the 10 minute limit I had to speed some parts up, but not much. The entire install process took 15 minutes - with an additional 10 minutes for getting out tools and putting them back away. If you don't watch the video, let me stress that the INSTRUCTIONS ARE WRONG when they say to pre-drill four 7/16" holes for the lag bolts. You should pre-drill 7/32" holes instead. That's a big difference! As far as the bar itself goes, it has turned out to be very solid. I'm 6'7" and 220lbs - and the bar holds my weight without any problems at all. One reason I went with the wall-mounted bar instead of one that just hangs in a doorway is because of my height, but I also think this looks better than the door-frame versions and you don't have to worry about damage to the molding or having to store it. I am completely convinced that this bar will last for years. When installed, the bar is 12" from the wall and is a total of 38" wide. The front-facing handles stick out about 19.5" (to the very tips). The center-line of the two supports are exactly 16" apart - which is great for mounting to typically spaced wall studs (although, you should check where you want to install the bar before ordering). Although I'm very happy with the Ultimate Body Press Pull-Up Bar, I am docking a star for a couple of reasons: 1) The rubber grip on both front-facing handles is messed up due to the way it was packaged. I showed this in the video as well. 2) Although this was easy to install, the instructions are a joke. There are multiple errors that are fairly serious if you were to follow the directions exactly without thinking it through. In some ways, I probably should have docked 2 stars for this since most of us trust the directions to be right and assume they will start making sense on a future step... 3) I should have mentioned it in the video, but I did end up using different lag bolts than the ones that were provided. (You can see the ones I used were silver and the provided bolts were black.) My main concern was ripping the heads off the bolts with my impact driver... Overall, if you are looking for a solid wall-mounted pull-up bar, this is an excellent choice. With just a couple of tools and a few minutes you can have a rock solid bar that is out of the way and should last for years. Now I just need to start improving my pull-up strength! *** UPDATE 6/30/11 *** I've been using this bar for a few weeks now and it is working great. One thing I've found is that it actually works better for me if I keep my back to the wall and do a pullup 'behind' the bar. (Hopefully that makes sense.) If I do pullups while facing the wall, my body actually ends up being a little too far away from the bar because of the way my feet go forward; but, when my back is to the wall, I get that satisfying feeling of my chin going over the bar. Another thing I did at first was to pick up some Iron Woody assisted-pullup bands to help increase my strength. Those bands work great for me and I can tell a huge difference already. I can now do 4 whole pull-ups without the bands! (Don't laugh...)