Desertcart purchases this item on your behalf and handles shipping, customs, and support to Slovakia.
🛁 Transform your shower base into a showroom-worthy oasis—without the showroom price!
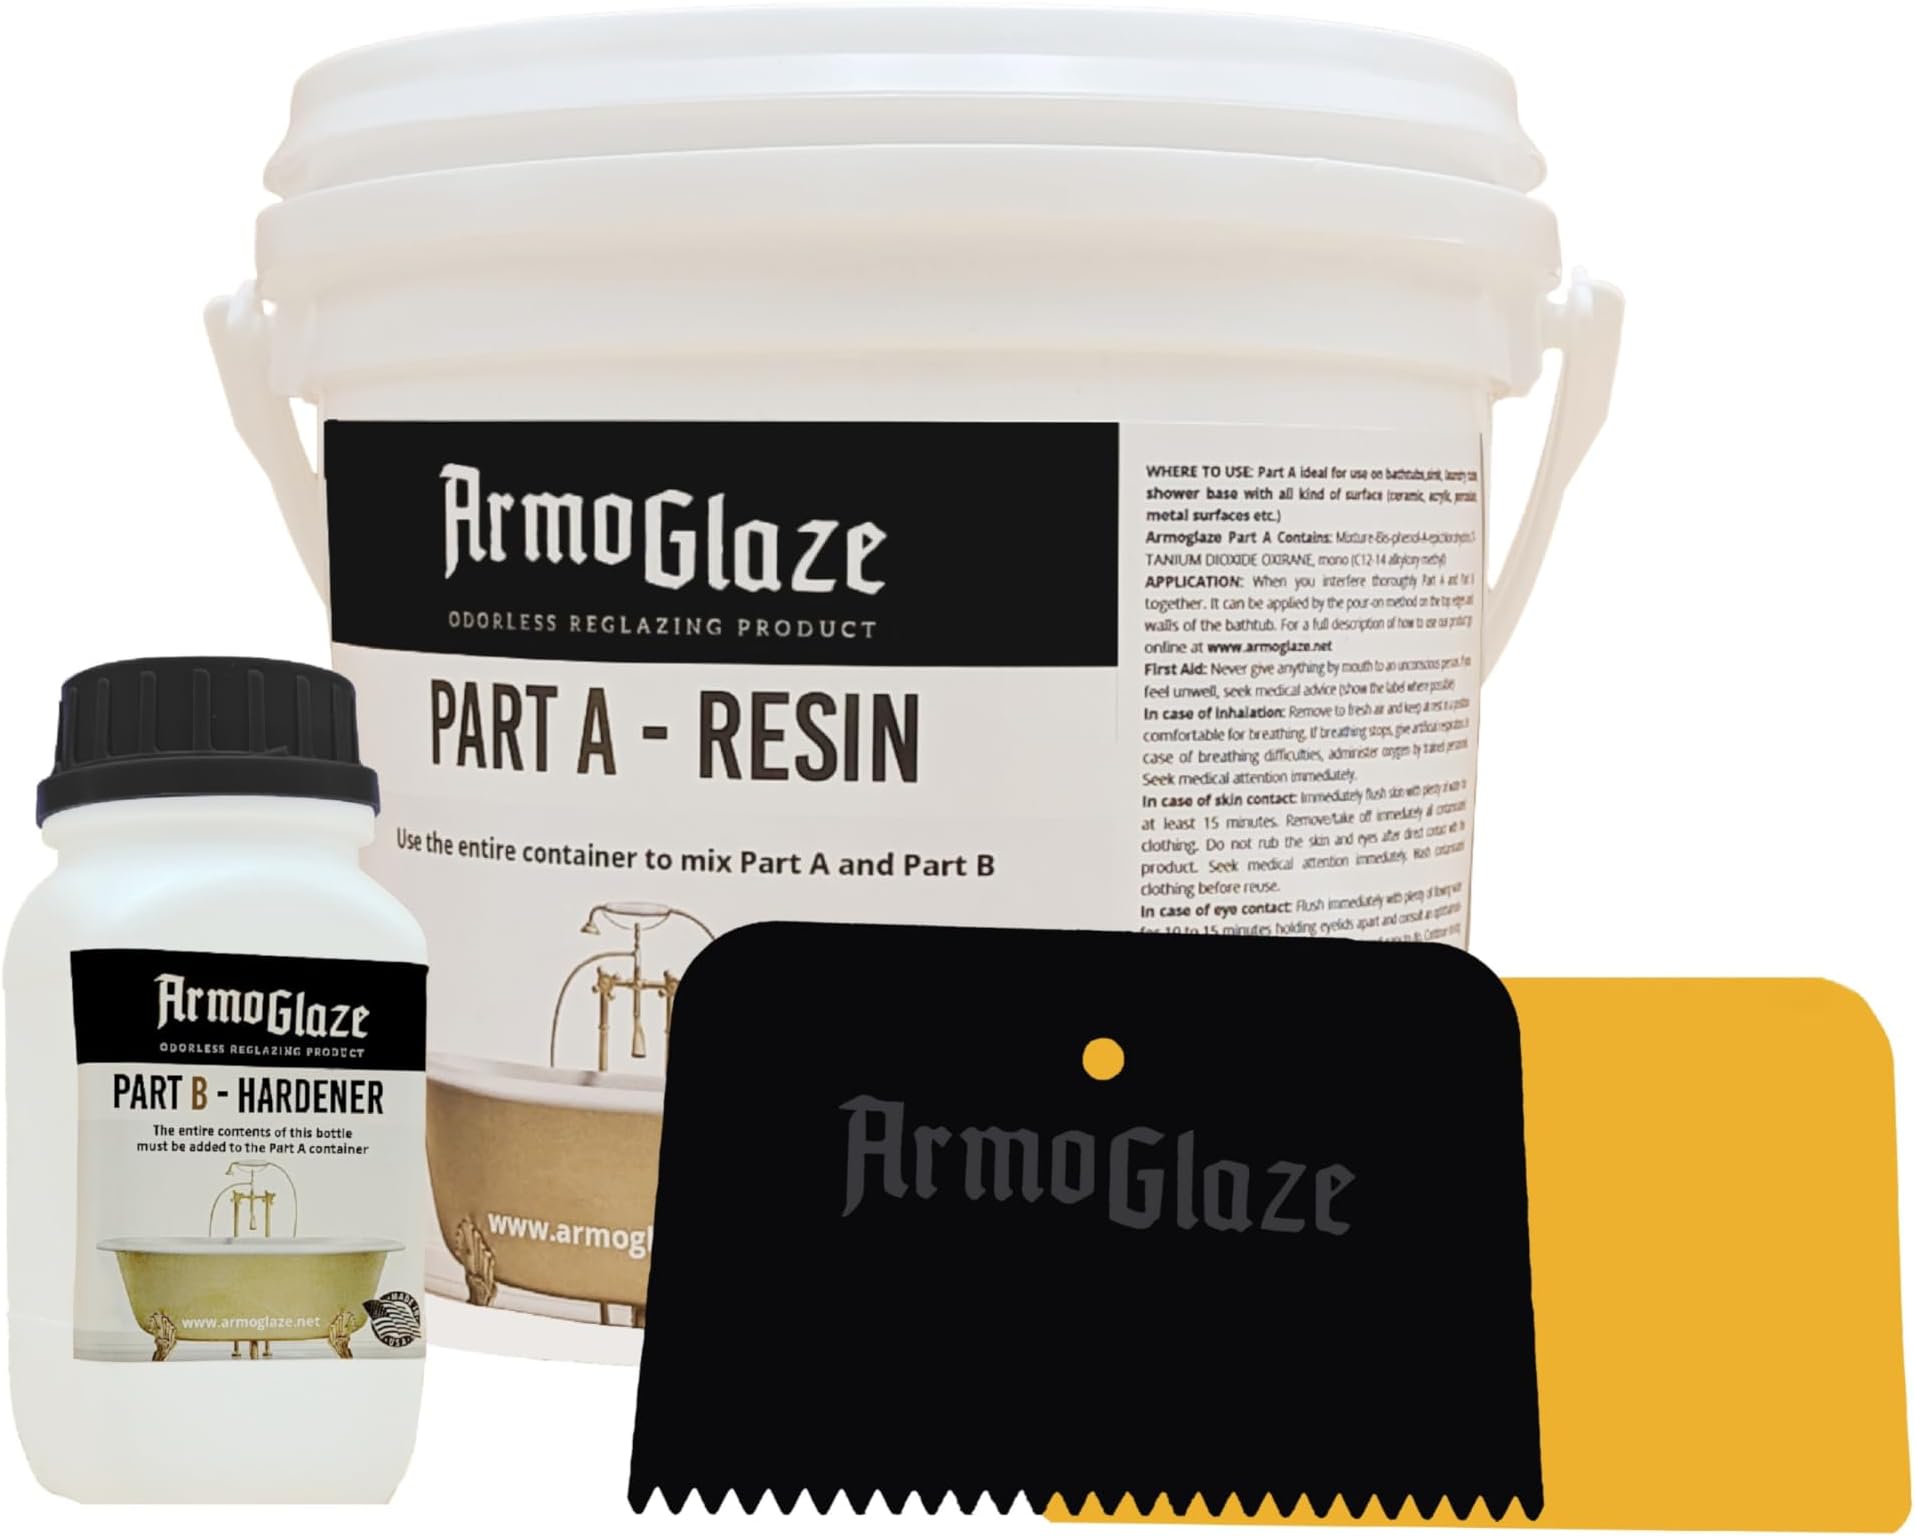
ArmoGlaze Shower Base Refinishing Kit offers a safe, odorless, and easy-to-apply epoxy coating designed specifically for small shower bases (2x2 and 3x3 ft). Its self-leveling formula delivers a durable, mirror-like finish that resists wear, chipping, and discoloration. Made in the USA with zero VOCs, this kit is perfect for DIYers seeking a cost-effective, long-lasting alternative to full shower base replacement.


| ASIN | B086PQTZCS |
| Best Sellers Rank | #240,714 in Tools & Home Improvement ( See Top 100 in Tools & Home Improvement ) #59 in Shower Installation Kits |
| Brand | armoglaze |
| Brand Name | armoglaze |
| Color | regular white |
| Coverage | Small Shower Tray 2x2,3x3 |
| Customer Reviews | 4.4 out of 5 stars 131 Reviews |
| Finish Type | Mirror finish |
| Full Cure Time | 24 hours |
| Item Form | Liquid |
| Item Weight | 1.5 pounds |
| Manufacturer | M & A Products Internathional |
| Size | 2x2,3x3 Small Shower Tray |
| Special Feature | Cost-effective alternative to shower base replacement, Durable finish resists chipping, peeling, and wear, Odorless & Zero VOC, Perfect for small 2x2 and 3x3 shower base refinishing, Self-leveling epoxy for a smooth, streak-free finish Special Feature Cost-effective alternative to shower base replacement, Durable finish resists chipping, peeling, and wear, Odorless & Zero VOC, Perfect for small 2x2 and 3x3 shower base refinishing, Self-leveling epoxy for a smooth, streak-free finish See more |
| Special Features | Cost-effective alternative to shower base replacement, Durable finish resists chipping, peeling, and wear, Odorless & Zero VOC, Perfect for small 2x2 and 3x3 shower base refinishing, Self-leveling epoxy for a smooth, streak-free finish |
| Specific Uses For Product | Zero VOC |
| Surface Recommendation | shower |
| UPC | 643934011263 |
| Unit Count | 1 Count |
| Warranty Description | 1 year |
J**7
Fantastic and low cost way to make a shower basin look like new
I have done a variety of home improvements over many years, and I have to say that this one turned out among the finest. It looks exactly as if a new, manufactured shower basin was installed, at a fraction of the price. It feels very nice on the feet, too. A couple of tips/suggestions: 1. Do the thorough cleaning the day before. It will reduce the effort on the day of the makeover, and enable you to concentrate more on the makeover as opposed to the fairly intense cleaning that must be done prior to using this product. And get a pumice stone to help with the cleaning- I bought one for the first time and was blown away at how effective they are at cleaning stains that even strong chemicals don't remove. After using the pumice stone, I used Ajax with bleach to polish up the cleaning process. 2. Watch the video on the manufacturer's website (be sure to watch the one for shower basins, they have several videos on there for bath tubs too) - once prior to cleaning, then at least once the day of the makeover. It is pretty straightforward to use this product and if it is done 100% correctly, you are likely to be 100% satisfied with the result. Be sure to continuously remove the excess enamel liquid that gathers at the taped-up drain- every 5-10 minutes as the video instructs, and be prepared to do this for approximately 2 hours or so or until the enamel liquid finally sets without flowing. This will help ensure a very nice self-leveling effect.
B**R
Worth It
If you're willing to put in the time to prep you'll get an incredible result. It's expensive to replace the basin and this allowed me to get a "brand new" shower for $100 and 4 hours of my time. The trade off was worth it to me. There were cracks in the basin and someone tried to patch this shower with rubberized spray paint. I took the time to scrape everything off with sandpaper before following the prep directions. I watched the video and read the instructions that come with the kit. Note that you should set a timer for some steps so you can understand how much time you have to work. After 2-3 hours everything will start to harden and you will not be able to make any changes. So time is of the essence. Pro tip: have rubbing alcohol ready, qtips and a plastic spoon. When mixing both parts together set a timer for 7 minutes and use a paint stick to stir. Scrape along the side of the bucket and the bottom. When reviews say this didn't dry that means both parts were not mixed evenly. It is a labor intensive process but you don't need to be excessive. Put in effort stirring until it has an even consistency. After it is mixed for 7 min, set a timer for 2 hours. this is how you will know if you're making good time. Make sure everything is prepped and with all required materials on hand before you start this process. I used a plastic spoon to scrape out the material that would pool by the drain into a plastic cup. This was a game changer. Once I was done I used rubbing alcohol on a paper towel to clean the spots where the material was not supposed to be. If any had gotten in hard to reach areas I used a q tip soaked in rubbing alcohol for more targeted spots. Be sure to wear gloves, but if you get any material on you use rubbing alcohol to get it off. Once you're done and everything is starting to set be sure to use the heat gun to smooth out any bubbles. Hit the bucket before you pour and the basin after. You can see the bubbles pop. Shine a flashlight if you can, you'll be able to see this process more clearly. Move quickly and don't focus on one area too long. The heat gun can melt the material. Use the plastic cup (where you place the excess) to reference how the surface is hardening. I would poke the top of the cup with a wood stick to see how much time I have to keep working. It seemed to really harden at 3 to 3.5 hrs. If its at that point and you use the heat gun it will melt and you will need to wait for it to harden. If you want to fix it you will need to sand down that section and try again. If you have a section that did not harden properly: I reached out to support and they informed me best practice is to scrape this putty out. Then sand every section with 80 grit sandpaper, this will allow you apply a new coat. You have to wait for the previous version to harden before you can apply another coat. This will be 24-36 hours later. You can see where I scraped sections that didn't harden from another basin I did (images 5-6) and the new coat filled everything in evenly. It came out great.
R**3
No Customer Service
Overall it definitely improved the appearance of the tub. The problem I had was application on a large oval corner tub with limited arm reach, As I did not want white, I emailed customer service several times regarding types of paint I could use to change the color however I never got a reply. In the end, since I wanted gray I added black enamel until I got the desired shade. Be aware that this requires additional mixing or you can get black streaks and this should be done before adding the hardener.
A**S
Great product, better than I thought
I needed to refinish my shower pan because the old reglaze was chipping off. You could see that the shower pan used to be pink and it was glazed white. I researched many resurfacing products, but most of them had a bad smell and you needed adequate ventilation. My bathroom has no window and it’s in the back of a bedroom so I did not have adequate ventilation. When I saw this product and saw that it was odorless, I thought that would be perfect, but I also thought is was too good to be true. I followed the demo video and YouTube videos. Reglazing was relatively simple. I recommend to follow the instructions regarding cleaning and sanding, but I did not fully remove the old glaze because that would’ve been way too time-consuming but everything turned out fine. I have only been using the shower for about a month, but there are no chips and everything looks great. I would highly recommend instead of repainting your shower pan .
S**R
Don’t be afraid to go for it!
Okay so I was nervous about trying this product. But I read all the reviews I could find and watched numerous videos (a must to watch the videos!) and decided to go for it. My experience and advice: 1) PREP, PREP, PREP. Spend the time to get your surface stripped, deglossed and clean. I used citrus stripper (old highback sink had been previously recoated with the spray on stuff - not durable) , 80 grit sandpaper, toilet bowl cleaner and alcohol for final wipe. 2) Tape and mask off everything well 3) Make sure your temp in the area is in the recommended rang (68-75) for 24 hours before you start. Vacuum and clean up all dust well. 4) Follow directions for mixing and go for it! 5) For me the comb thing didn’t help a lot, I used the solid plastic scraper more. 6) A long needle on hand is nice in case a hair or debris falls, it works well to remove it. Also, wear a tight fitting shirt so you don’t have fabric flapping around. 7) The heat gun is a life saver. It will definitely be your friend if you accidentally touch an area or have a flaw or bubbles. If you have to remove debris with needle the heat gun will smooth it right back out. Keep the gun moving and not too close. 8) Remove the drain cover thing if you can, and just let the excess flow on out into a bucket or container. That was the hardest part for me because I could not remove mine and it Took A LOT of scooping to get the excess out. 9) Don’t freak out in the beginning. This stuff is thick and I started kinda freaking and thought it wasn’t going to flow and cover well. Just take a deep breath, keep working it and move it where you need it and it all starts flowing and covering just like it should. It actually looks better after it dries. I was able to let mine cure for a week before use and it feels like porcelain. My sink literally looks brand new!
R**N
Not As Easy As Advertised
First off, I’m an avid DIY’er, so with all the reviews saying how easy it was to use Armoglaze, I went for it for my 3 x 3 shower pan. Well, it’s not that easy! It is definitely messy, and be prepared to have sticky white stuff everywhere. Thank goodness my husband was available to clean it off of areas that it inadvertently got on before it dried (shower frame, floor, body, clothes, shower surround) so I could focus on my window of opportunity before it got too thick to work with. That being said, it started off being thick to work with, and never drained to the drain like the instructions said it would, and I followed the instructions to the letter. There’s also a lot of conflicting information between the application video, instructions, and various troubleshooting videos with some guy with an accent. The training video says 72-78 degrees, the website says 70-75 degrees, and the instructions sent with the product says 68-77. Which is it? I cooled the area down to 76 for 48 hours, with the product stored there, and did the work at 74. I stirred over 10 minutes, but it was still thick as mentioned, and not like the videos showing a slightly runny consistency, and as mentioned it never drained to the drain so I had nothing to keep scooping out. Was it too warm, too cool? I was at the higher end of the temperature, yet the instructions say if too warm it would be thin, if too cool it would be like honey. I would classify my experience as closer to honey. Ultimately, I was able to smear it around the sides and base, but fear since it never drained that it might be too thick. I then moved to the outer curb. That started out fine, and could only drip downward, so all was well. Once I finished that, I followed the instructions to remove the tape from the floor no more than 2 hours after initial stirring or it would be “practically impossible” to remove if longer. I waited over the two hours, so removed it. Unfortunately, the curb material continued to drain down, getting all over my grout and tile. I was able to wipe it from the tile, but the grout is a disaster. I couldn’t scrape it off as it just smeared worse, and I was accidentally touching the curb, leaving marks. I will need to lay down a very thick layer of caulk to hide it once it’s cured. Also, if you get any droppings on the Armoglaze, you can’t easily remove them without leaving a gouge. (Note to ladies or guys with long hair, wear a shower cap! I had to pick several hair pieces out, and one is forever stuck on the curb.) Anyway, the job is done, I will NEVER do it again, but best of luck to all who take on the task. I give it 3 out of 5 stars as there is at least a coating on the pan, but minus 2 out of 5 stars for the difficulty, conflicting information, and the final result is nothing close to a professionally done job, which should be if it’s advertised as professional results for a DIY’er. Now we’ll see how long it lasts.
J**S
Results are great.
I re-painted my shower floor that has a prior acrylic painted surface that has started to peel and come up. I was concerned because some of the old acrylic paint would not come up no matter how much I sanded, but the new product just covered everything up with a nice and even finish. I was nervous about making sure I followed the directions. Given this was my first time to attempt this type of project the finish looks really great. I could have done a better job on some of the vertical surface as I left a few spots where I see now that I did not pour enough to fully hide the old surface but it is not that noticeable. Also, I can't blame that on the product as it was just me learning a new DIY skill. The product was overall a lot easier to use than I expected.
R**M
Review with a user tip.
This is an excellent product that I used on my shower floor. Be sure to follow instructions and use this tip. Do not pour too much material on the shower floor, and don't get any material within 6 inches of the taped over drain while using the spreader tool the first time. You have plenty of time (2 hours) to add more paint and spread the material as needed, just don't be in a hurry. You will be surprised at how much the paint flows toward the drain as it self levels. If you spread the paint near the drain to start with, or if you started with too much paint, you will be removing excess paint from over the drain several times over the next couple of hours and that's not fun. Once the paint has dried, the finish is glossy and smooth and surprisingly offers a good grip. Still, be careful anytime you are stepping on a mixture of soap and water.
Trustpilot
1 day ago
1 week ago