
DOWNLOAD THE APP


Customer Support

Desert Online General Trading LLC
Warehouse # 7, 4th Street, Umm Ramool, Dubai, 30183, Dubai
DOWNLOAD THE APP
Customer Support
Desert Online General Trading LLC
Warehouse # 7, 4th Street, Umm Ramool, Dubai, 30183, Dubai

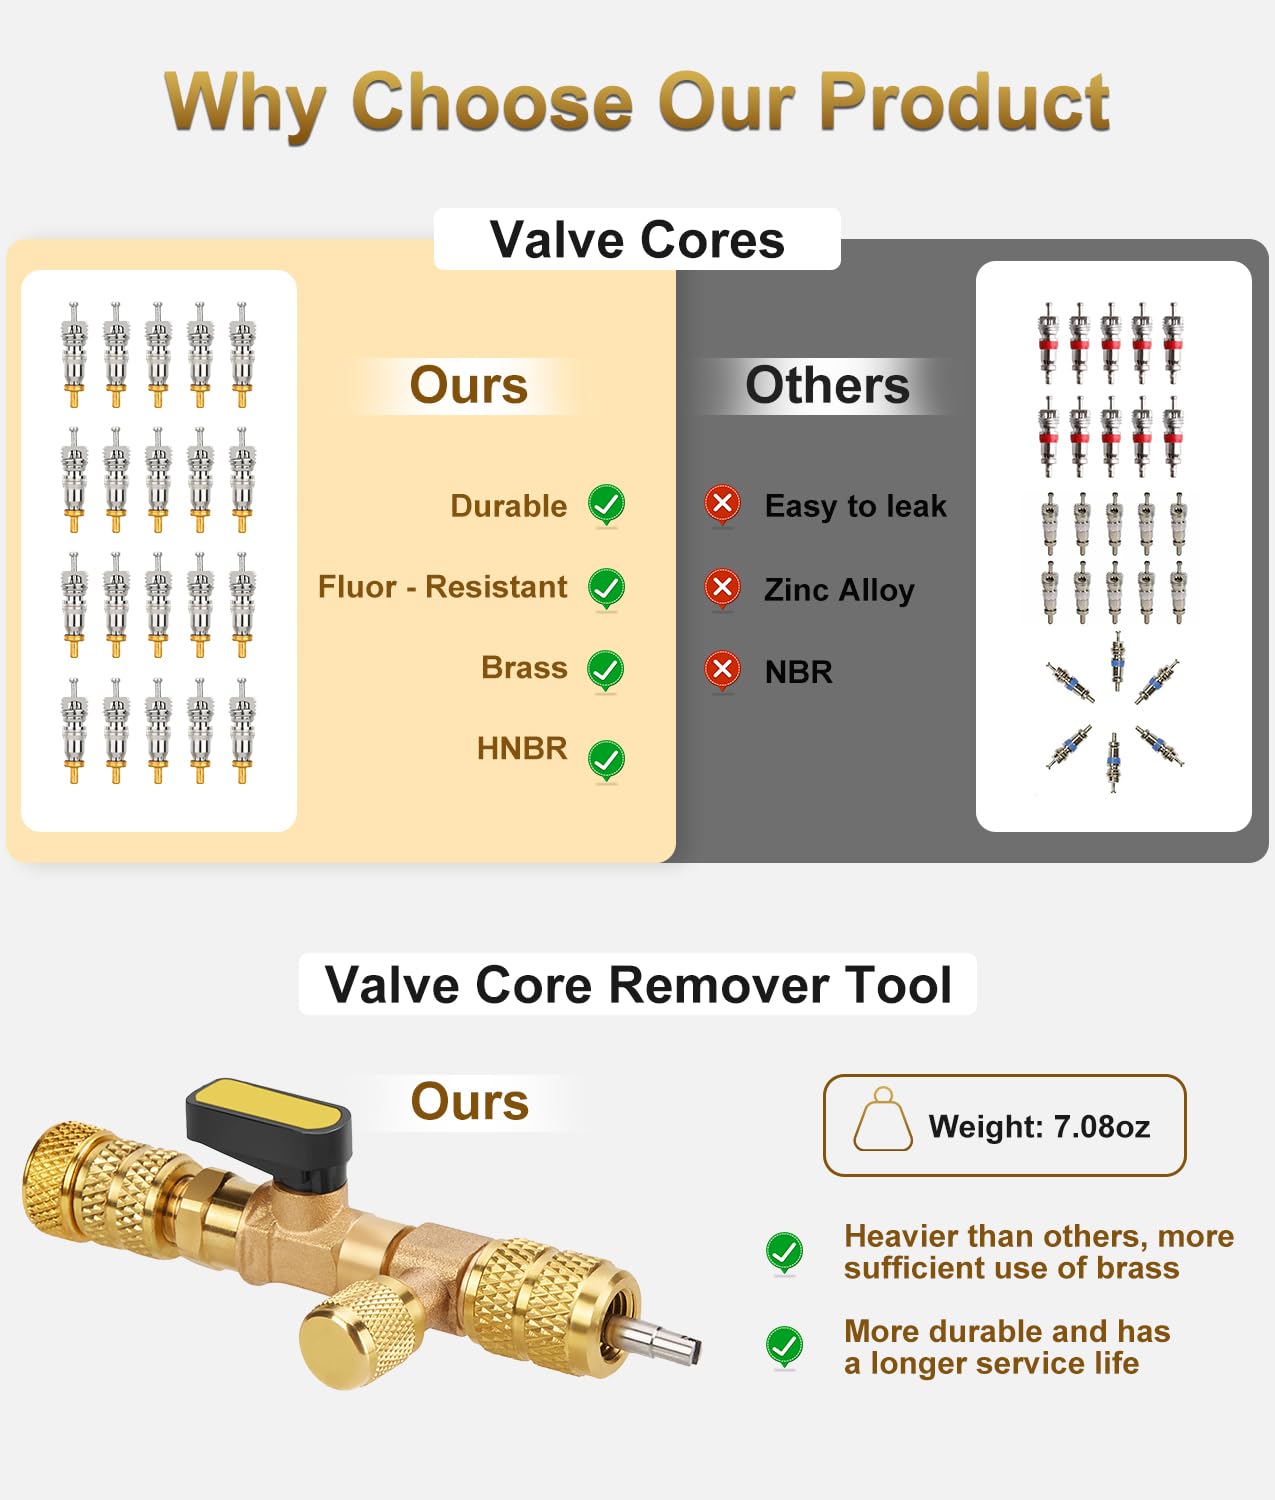
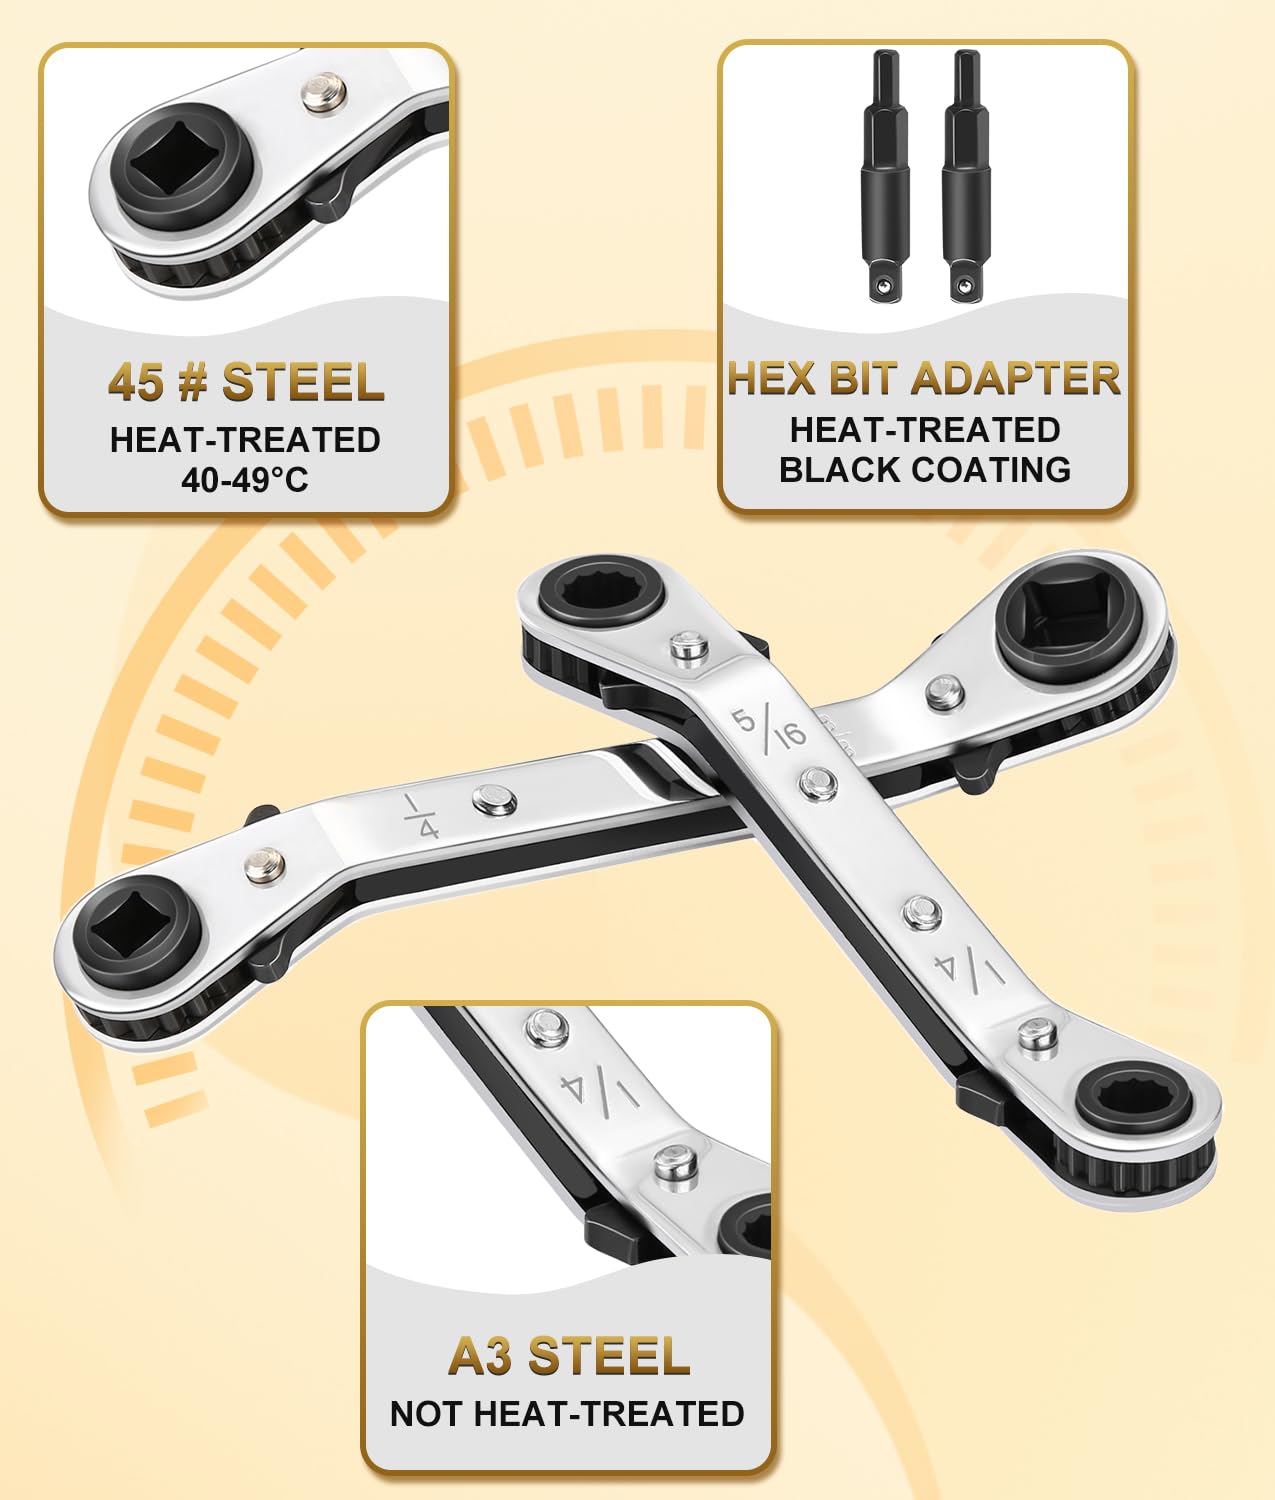
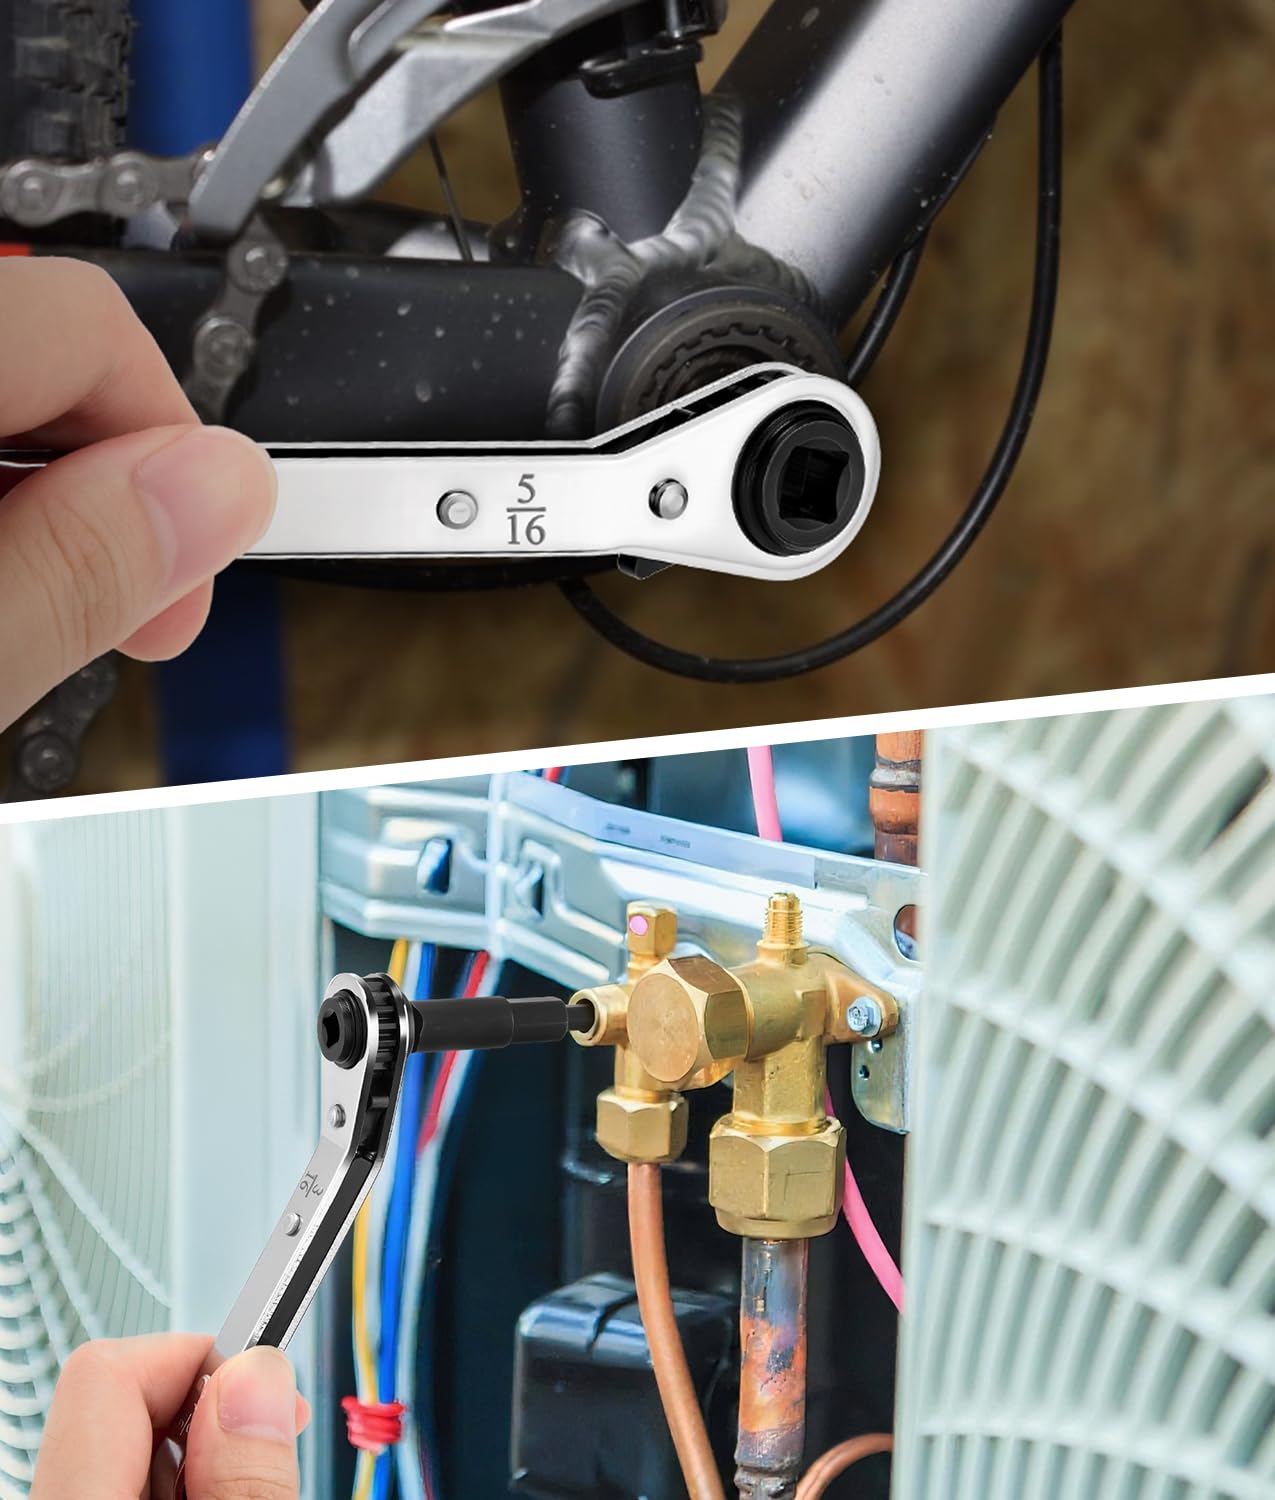
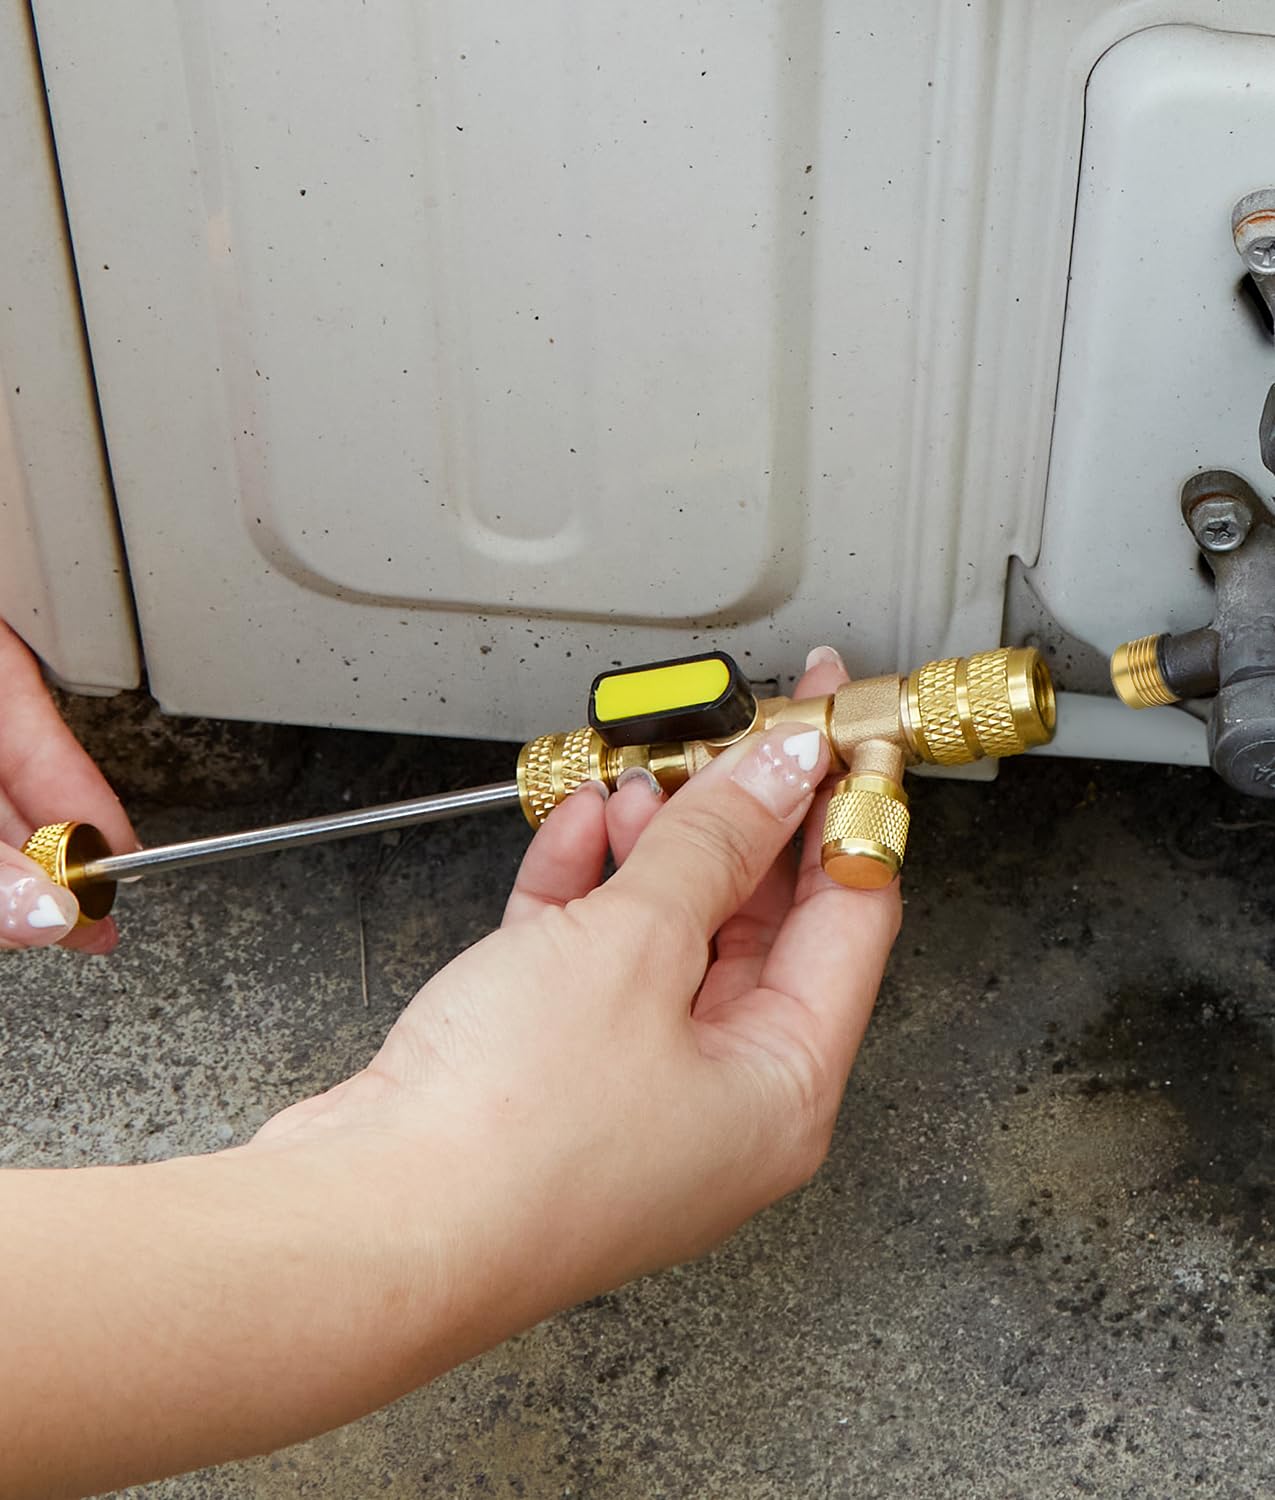

🔧 Upgrade your HVAC game with pro-grade precision and durability!
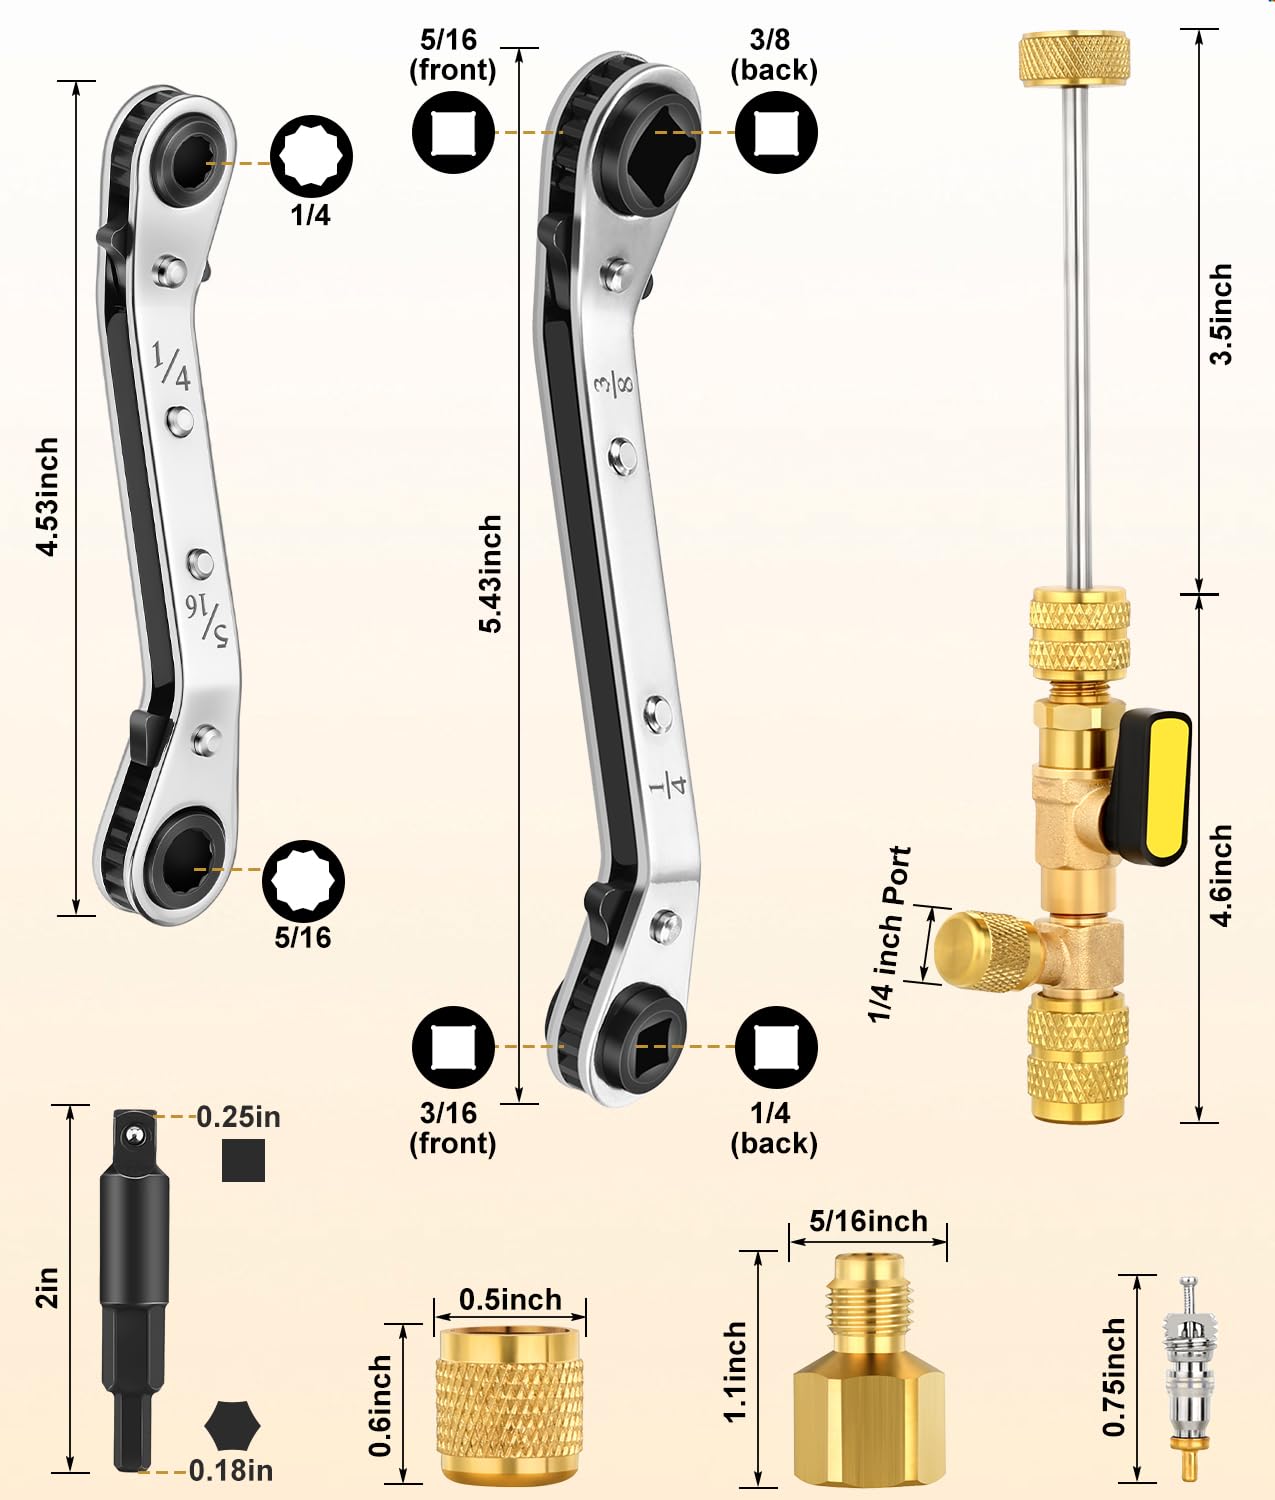
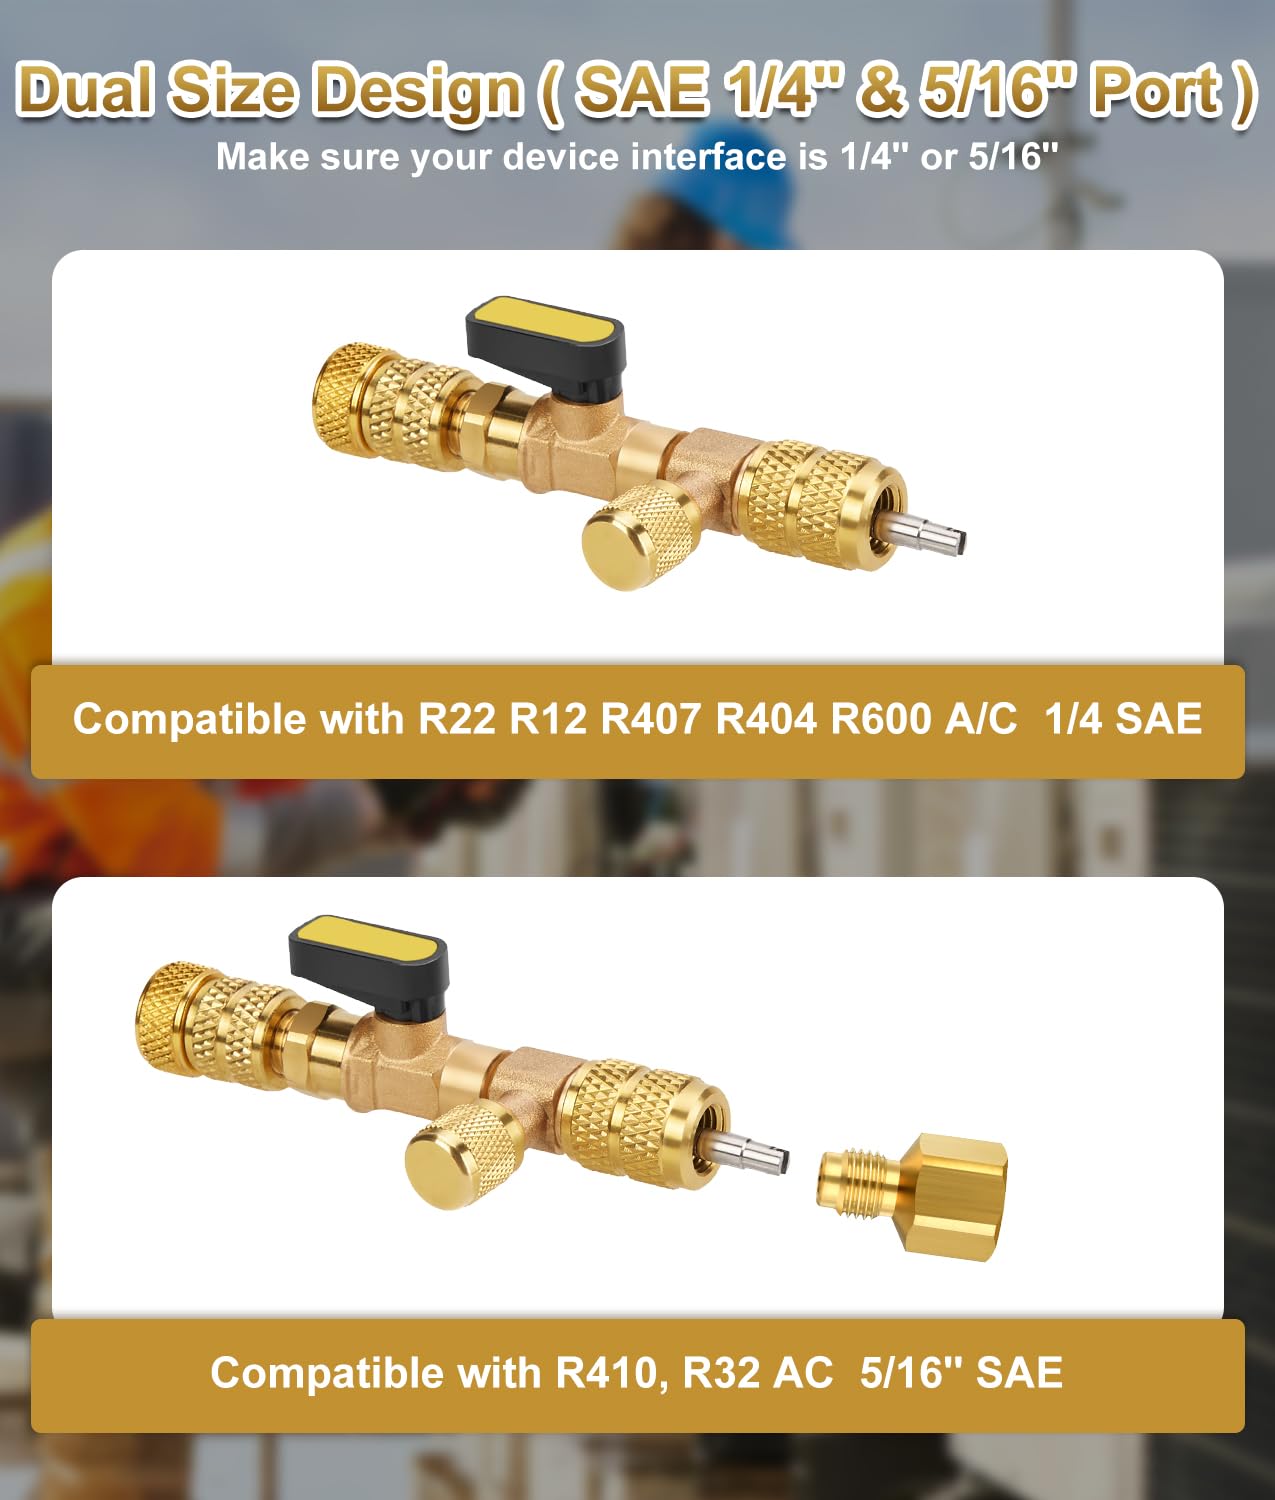
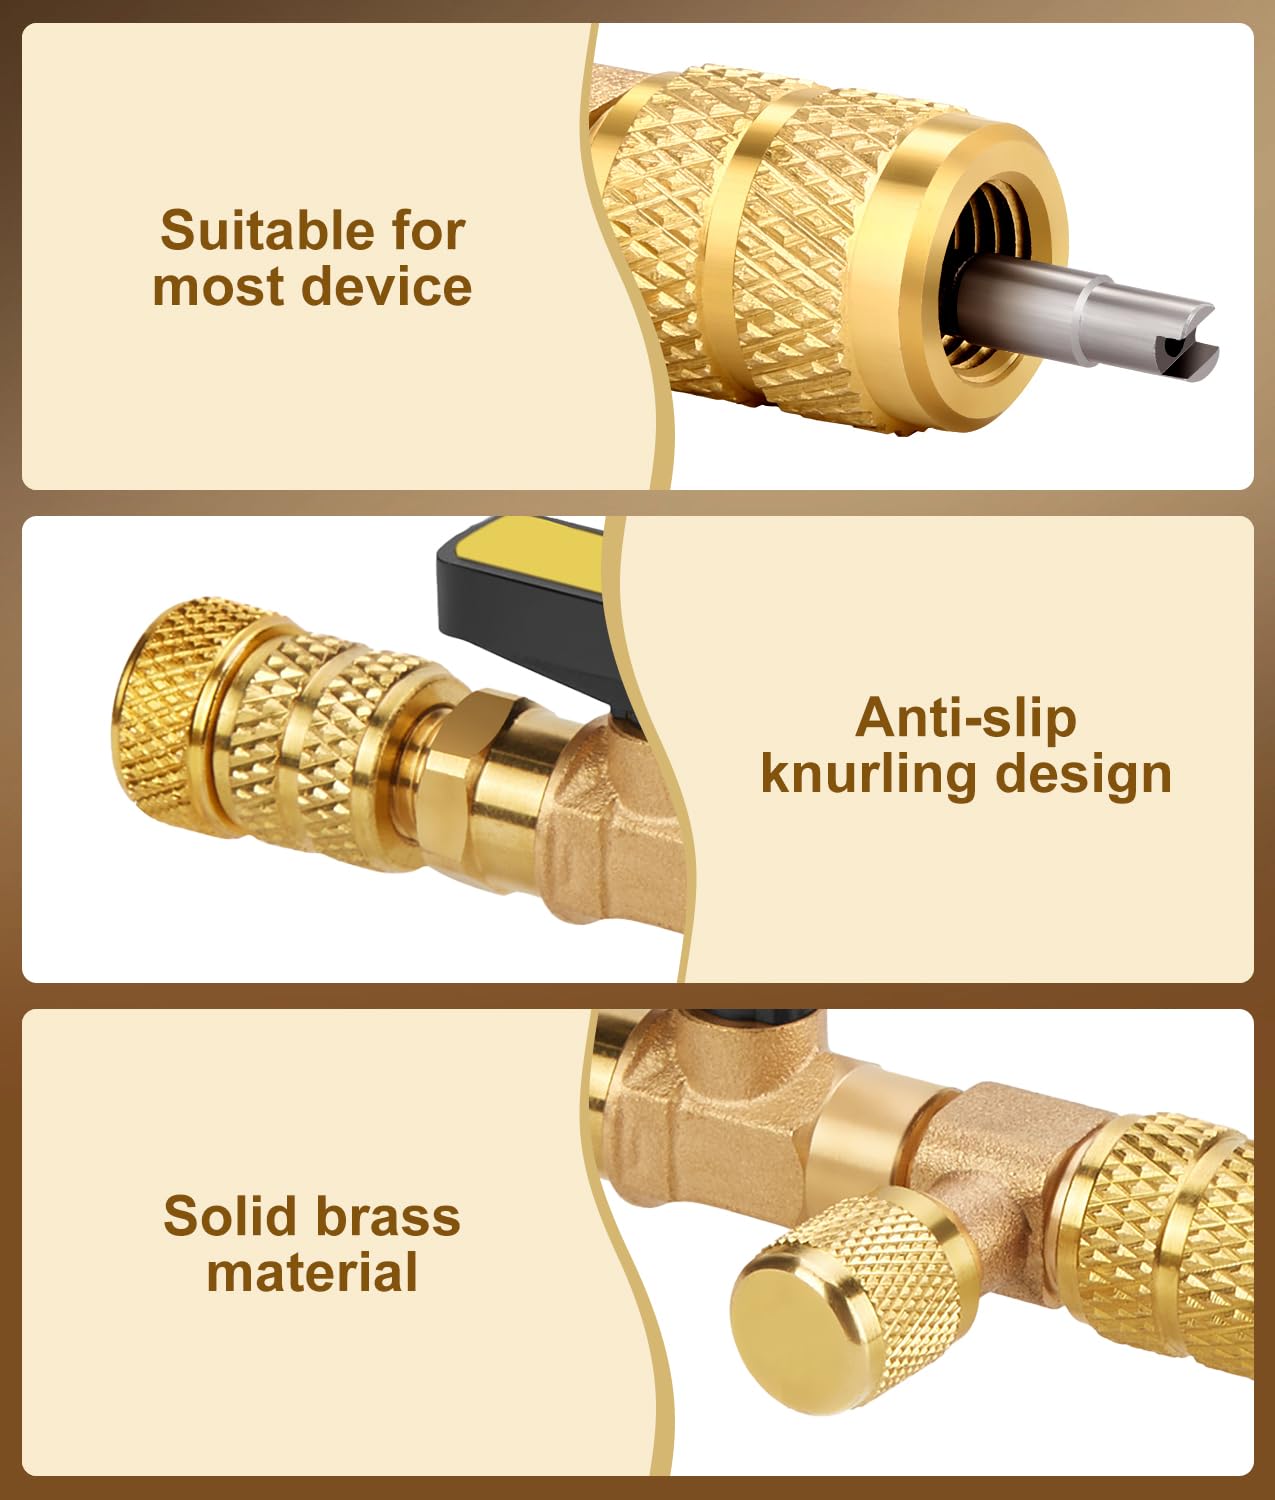
The WADEO Valve Core Remover Tool & HVAC Service Wrench Set is a professional-grade toolkit designed for efficient maintenance and repair of home air-conditioning and refrigeration systems. Featuring dual SAE ports (1/4 and 5/16 inch), 15 high-resistance valve cores, brass construction with heat-treated steel components, and ergonomic design, this set ensures quick, leak-free valve core replacements compatible with a wide range of refrigerants. Ideal for HVAC professionals and serious DIYers aiming to maximize uptime and tool longevity.


| Brand | WADEO |
| Material | Alloy Steel |
| Item Weight | 0.46 Kilograms |
| Item Package Quantity | 1 |
| Head Style | Round |
| Finish Type | Unpolished |
| Manufacturer | WADEO |
| Part Number | IT0408+IT0409-MDUS |
| Item Weight | 1.01 pounds |
| Product Dimensions | 7.87 x 5.9 x 2.16 inches |
| Item model number | IT0408+IT0409-INUS |
| Size | 1 Valve Core Remover + 2 Wrenches |
| Finish | Unpolished |
| Included Components | Storahe Bag*1, Valve Core Remover*1, Valve Cores*15, Refrigeration Service Wrench*2, Hex Bit Adapter*2, Dual Size SAE 1/4 and 5/16 Port*1, Brass Nut*2 |
| Batteries Included? | No |
| Batteries Required? | No |
Trustpilot
1 month ago
2 weeks ago