


💻 Elevate your laptop game with style and comfort—because your workspace deserves a glow-up!
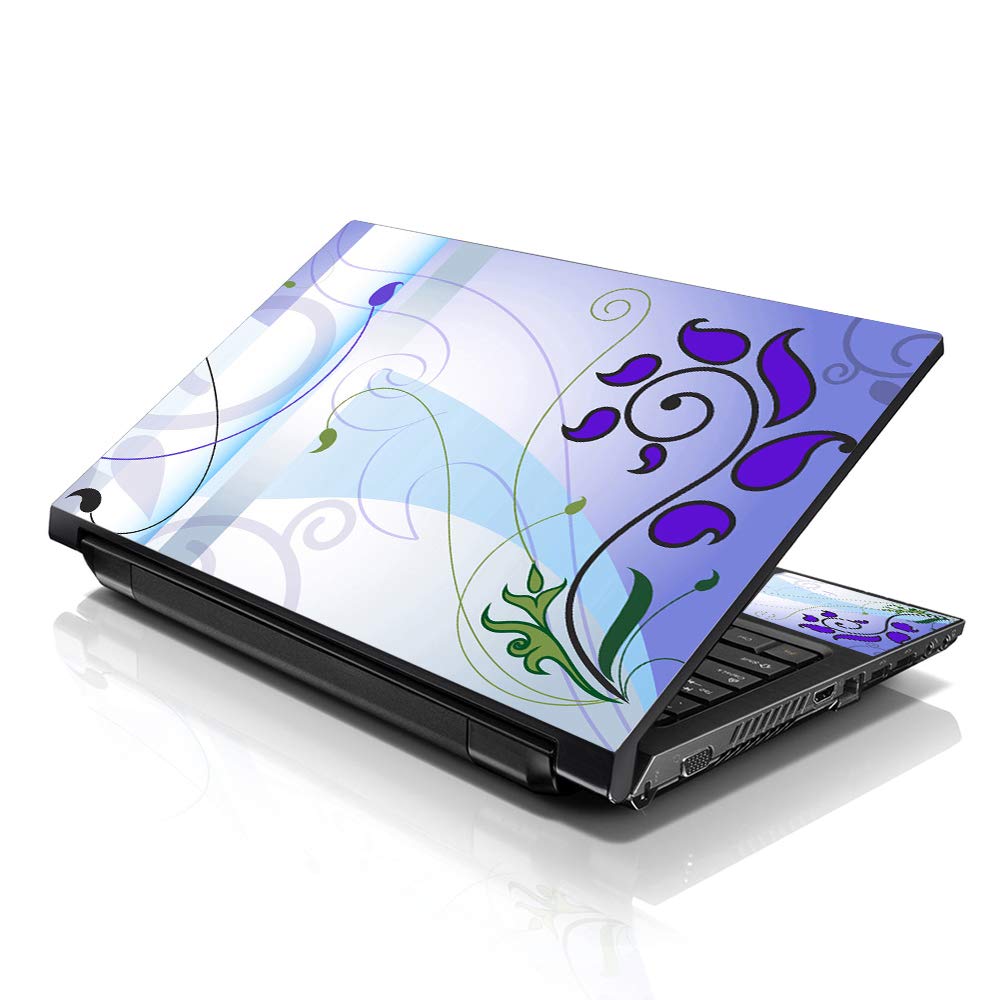
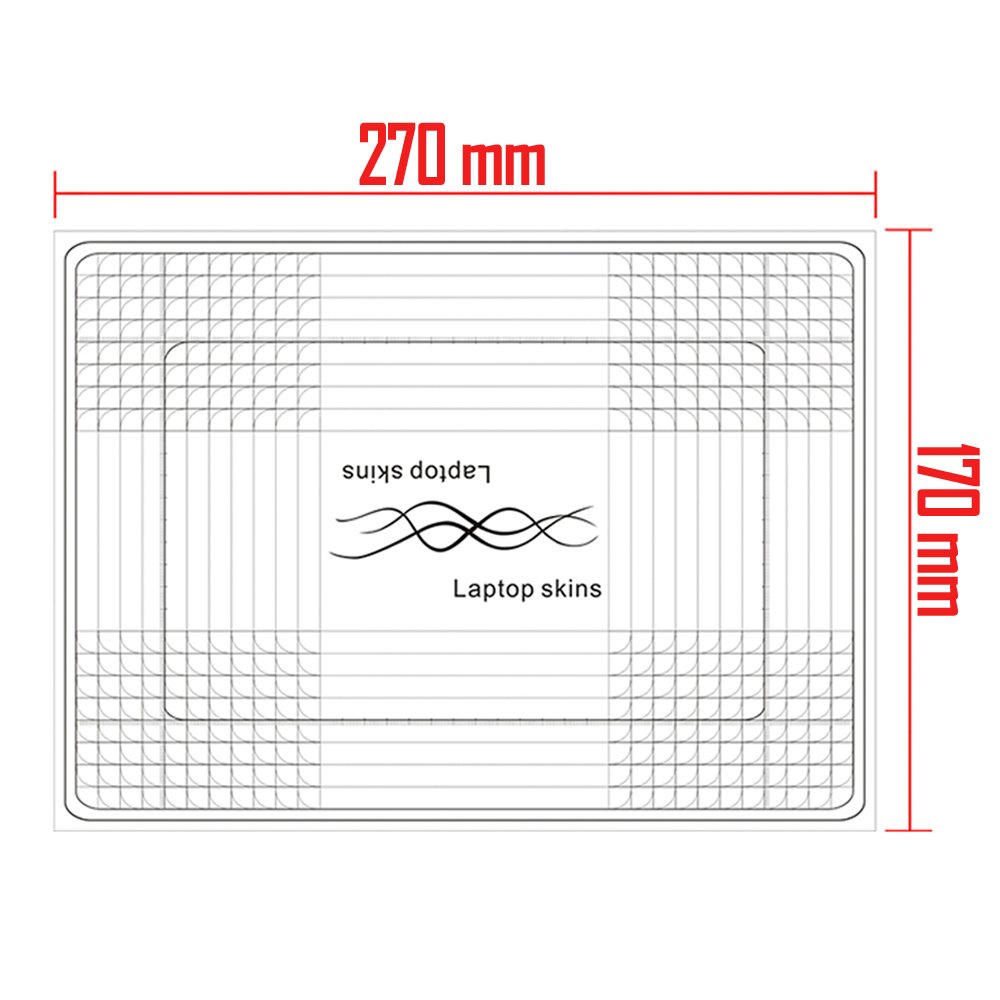
The LSS 10 10.2 inch Laptop Skin Cover fits laptops with screen widths from 7" to 10.2", featuring an abstract pattern and a matte UV-proof coating for scratch protection and glare reduction. It includes 2 free wrist pads for ergonomic support, is easy to apply and remove without residue, reusable, non-toxic, and environmentally friendly—perfect for professionals seeking both style and function.
| Brand | LSS |
| Item model number | LLS-laptopskin-S-9540 |
| Color | Abstract Pattern |
| Manufacturer | LSS - Laptop Skin Shop |
| ASIN | B00H0LKSRM |
| Is Discontinued By Manufacturer | No |
| Date First Available | November 30, 2013 |
✨**✨
Beautiful design and good quality! 👧🌹
I got the "Flowers Art" design which is stylish with black and white flowers pattern on half black and half grey background. It went very well with my Snow White and red roses. I also added a few streaks of bling blings 😊. I have posted a pic of the design I bought, and a pic of my final product.Some of these reviews complaint about not being the right size, or the edges lifting, or too many bubbles... that's because they're not doing it right! You have to take time and be VERY meticulous about placing skin to a laptop if you want it to look good 👀.So here are some helpful tips:1. Measure your laptop and make sure you're buying the correct size, or at least opt for buying it bigger. Yes, that means you're gonna have to trim.2. If you're trimming: place skin on its opposite side on the table, put your laptop on top, and use a pen to trace your laptop so you can cut it correctly.3. Once it's trimmed/cut, don't peel the back yet, and start placing it on your laptop to see how you want it to be. You don't wanna make the mistake of placing it upside down.4. Make sure to clean swipe your laptop's surface so it's free of any oils/residue (this helps guarantee adherence and no lifting on the edges).5. Make sure the surface is dry. Then decide which side you're most comfortable to start (left to right, or right to left). Start peeling off at the edge. And use a plastic credit card to press down to get the bubbles off. Pls YouTube a video on "How to apply the laptop skin" and trust me, it would help you a lot.6. For the "inside stickers" that go by the keyboard, I can tell you right now that they might be small, so just be ok with it. It doesn't mean you're gonna give a bad review (not all keyboards are all the same). Be kind and enjoy your new laptop look!7. Be proud of your work, post a pic and give a good review ⭐️⭐️⭐️⭐️⭐️👉🏼End result: No bubbles, well centered, the edges are rounded bc you traced your laptop, no lifting bc you worked with a clean surface... and that video helped you out. You're welcome! 😁
H**N
AWESOME SKIN!
this skin is beautiful. very sturdy material. great sizing lines. since I had to trim down, I did not use the sizing lines as they were intended, instead, just as a guide for cutting. I measured my computer side to side, top to bottom and then positioned those measurements the way I wanted the picture to show, since sizing down cuts out parts of the picture. my only regret is that the edges of my computer are curved and I thought the decal would buckle around the corners so I cut it to the flat surface of the computer instead. I wish I would have at least tried it the other way first, as I reapplied it a couple of times with no problem getting it to stick again.While applying, I pulled the backing off a couple of inches on the long side, carefully lined up the edge to the computer and slowly peeled the rest of the backing off while smoothing out air bubbles as I pressed. it worked perfect! the only reason I had to reapply was that initially I put it on so that the picture is right side up with the lid open. after applying it and realizing I cant even enjoy the picture when I am actually using my computer I decided to try reapplyimng it so it is right side up with the lid closed. it was a little tough to peel up but it worked and reapplied GREAT. I just had to be careful cause I didn't have the back on anymore so I had to make sure it didn't stick to everything. but it is beautiful and I LOVE it!
M**K
Looks great if you apply it correctly
1 to 5 stars:Appearance: 4Realistic to picture in ad: 5Ease of application: 3Quality of material: 5This looks awesome, exactly like it does in the ad (see my included pics). Although the adhesive side is a typical plastic decal material, the graphic surface has a more attractive fabric-like texture, rather than being smooth and shiny like a sticker would (see pic #2). This skin is also thicker than a typical decal, probably about the thickness of two or three sheets of notebook paper. The only negative about it is that there is a very thin (about a millimeter wide) light green border around the entire perimeter of the skin. Unless it's trimmed off, this makes it look less blended with the laptop and more like just a decal that was stuck on there. When I trimmed this to fit my laptop, obviously the border on the edge I trimmed came off with it. So now there are 3 sides with a thin border and one without. I tried trimming it after the fact, but as you can see in pic #3, that was worse. If you have to resize yours, I suggest you trim all four sides evenly and remove the border entirely, rather than take all the slack off one side like I did. Next time I'll know. The small pieces for the inside of the laptop also have this border.Applying the skin is tricky, and the instructions are minimal at best (it basically says, "cut it to size and stick it on"). As with any large sticker, it's hard to line it up evenly with the edges of the laptop and have it lay flat. Mine still has some air bubbles that I couldn't squeeze to the edges. If they don't dissipate on their own I'll have to pop them with a pin.
Trustpilot
3 weeks ago
4 days ago
