Some deliveries may take a little longer than usual due to regional shipping conditions.

DOWNLOAD THE APP


Customer Services
Copyright © 2025 Desertcart Holdings Limited
DOWNLOAD THE APP

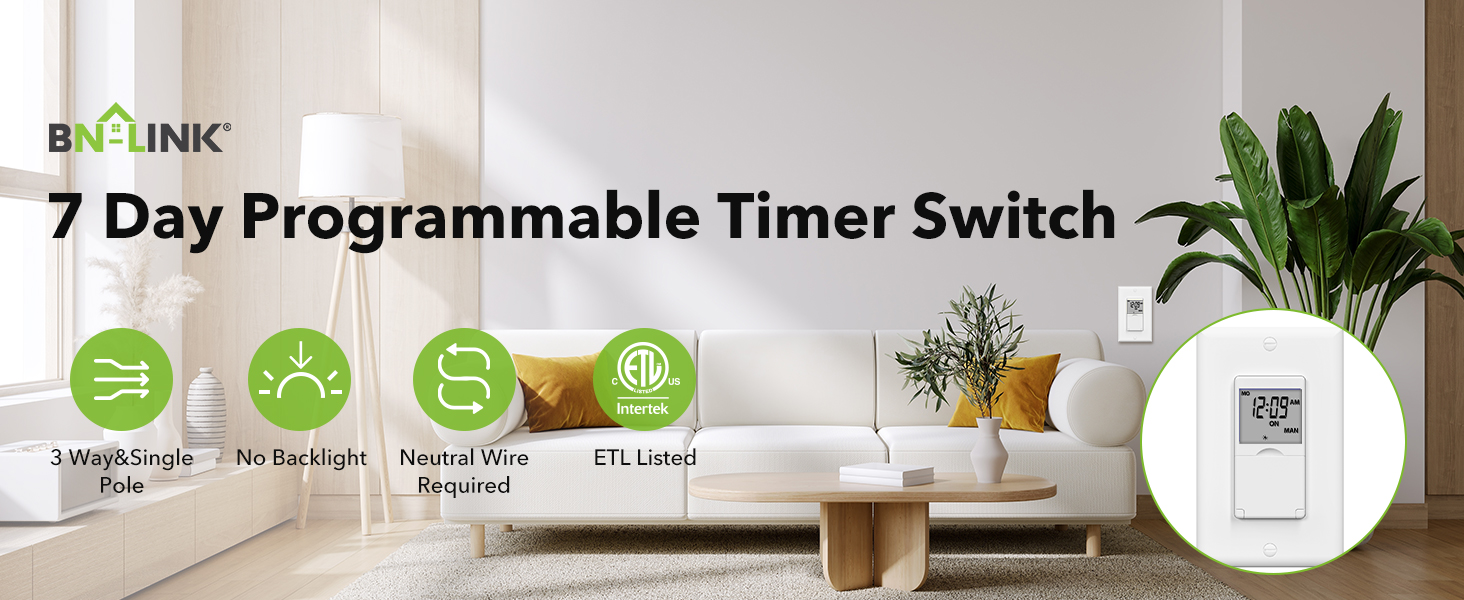
⏳ Take control of your space—schedule smarter, live brighter!
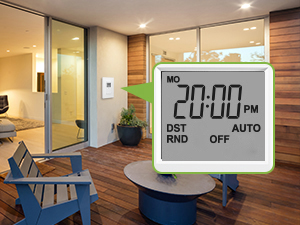
The BN-LINK 7 Day Programmable In-Wall Timer Switch offers professional-grade scheduling with up to 18 customizable on/off programs across a full week. Designed for single-pole and 3-way SPDT wiring, it supports loads up to 15 amps and 1875 watts, making it ideal for lights, fans, and motors. Features include a backup battery to retain settings during outages, a convenient daylight savings adjustment, and a random vacation mode to enhance home security. ETL listed and built for durability, this sleek white timer switch requires a neutral wire and fits seamlessly into modern smart homes.


| Operation Mode | ON-OFF-ON |
| Current Rating | 15 Amps |
| Operating Voltage | 125 Volts |
| Contact Type | Normally Open |
| Connector Type | Wire Connect |
| Brand | BN-LINK |
| Terminal | Screw |
| Item dimensions L x W x H | 4.92 x 3.23 x 2.44 inches |
| Circuit Type | 2-way |
| Actuator Type | Push Button |
| Contact Material | Copper, Brass |
| International Protection Rating | IP54 |
| Number of Positions | 1 |
| Lower Temperature Rating | 5 Degrees Fahrenheit |
| Upper Temperature Rating | 122 Degrees Fahrenheit |
| Controller Type | Push Button |
| Control Method | Push Button |
| Connectivity Protocol | X-10 |
| Color | White |
| Wattage | 1875 watts |
| Unit Count | 1.0 Count |
| Number of Items | 1 |
| Manufacturer | BN-LINK |
| UPC | 680474115662 |
| Part Number | SU101C |
| Item Weight | 5.3 ounces |
| Product Dimensions | 4.92 x 3.23 x 2.44 inches |
| Item model number | SU101C |
| Is Discontinued By Manufacturer | No |
| Style | No Backlight |
| Voltage | 125 Volts |
| Horsepower | 0.50 |
| Item Package Quantity | 1 |
| Included Components | Face Plate |
| Batteries Included? | No |
| Batteries Required? | No |
Trustpilot
3 weeks ago
2 days ago