Customer Services
Copyright © 2025 Desertcart Holdings Limited





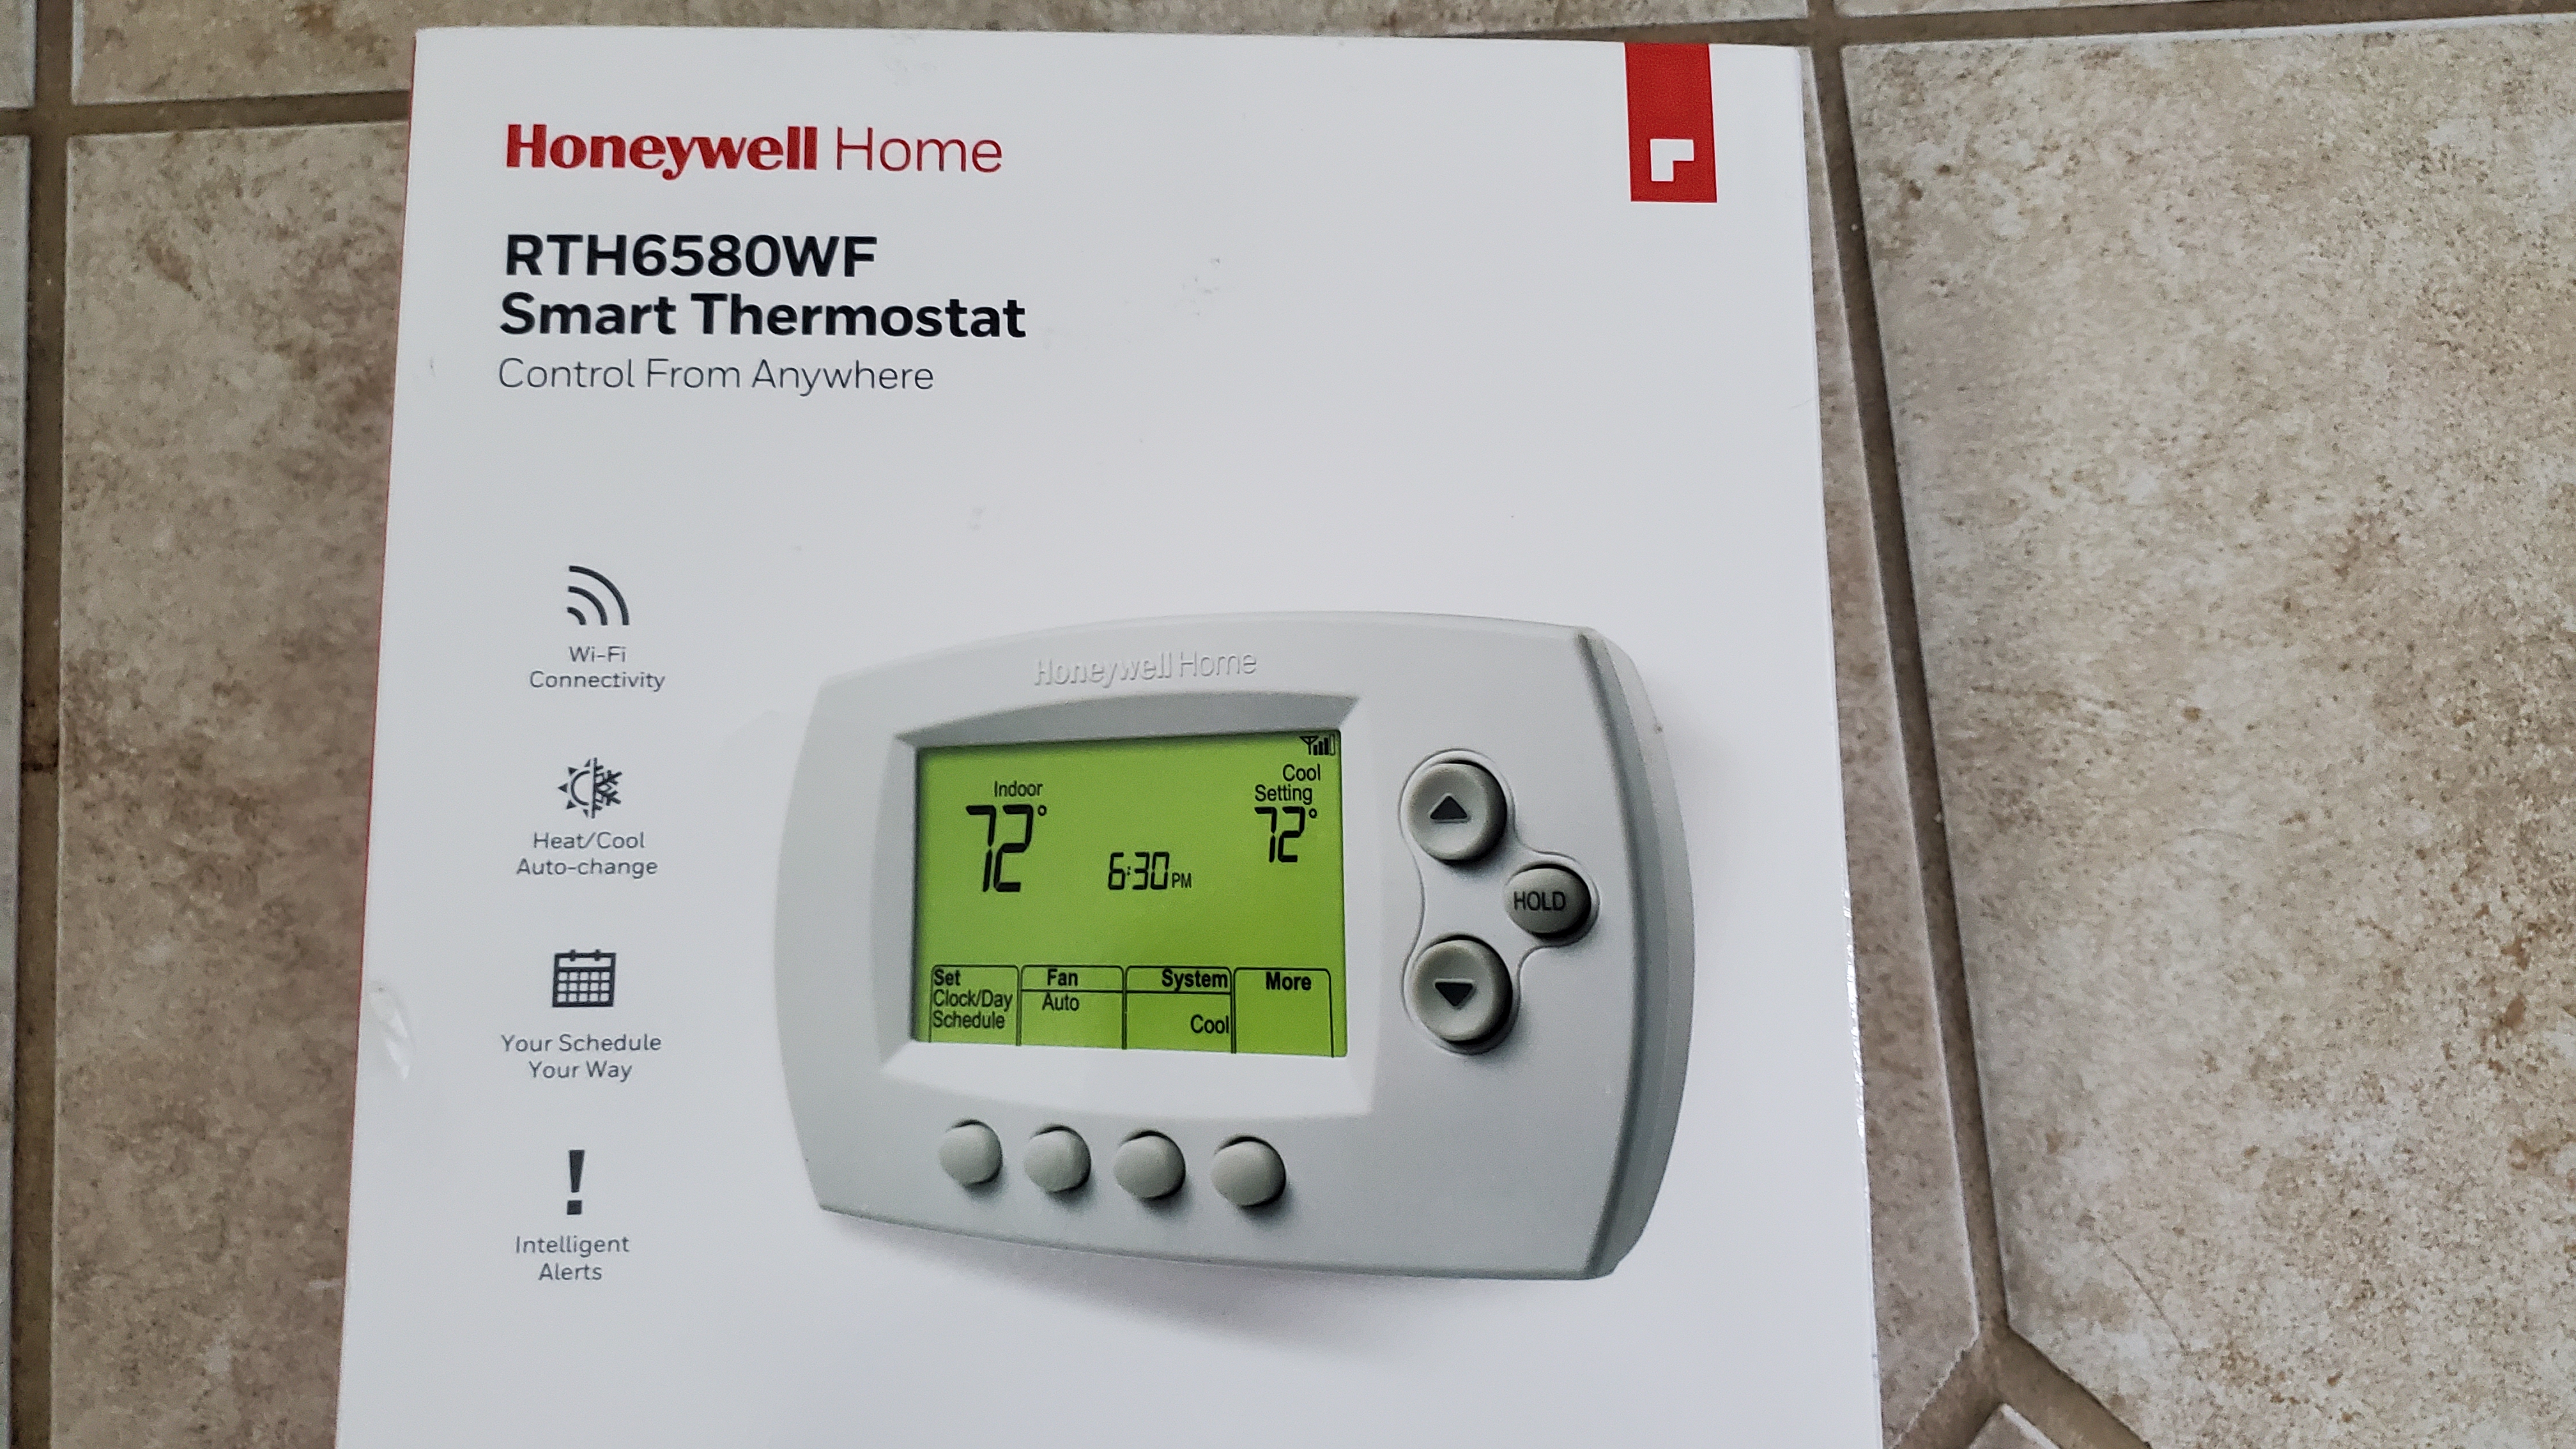
🌡️ Stay ahead of the curve—control comfort like a pro, wherever life takes you!
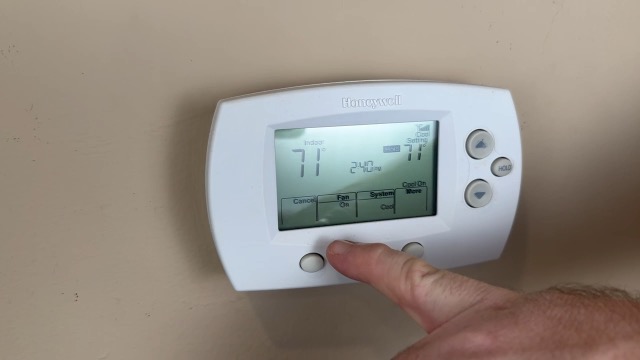
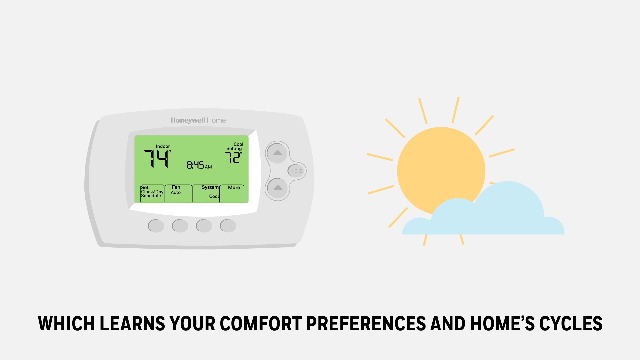
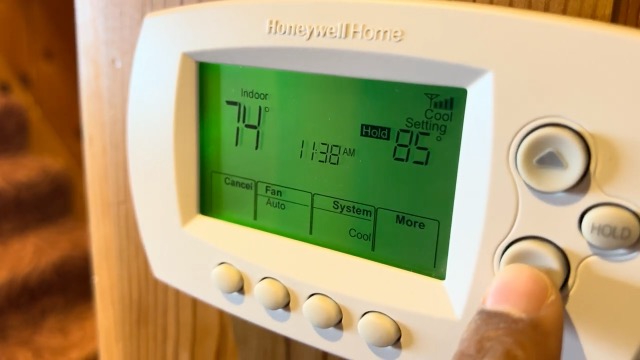
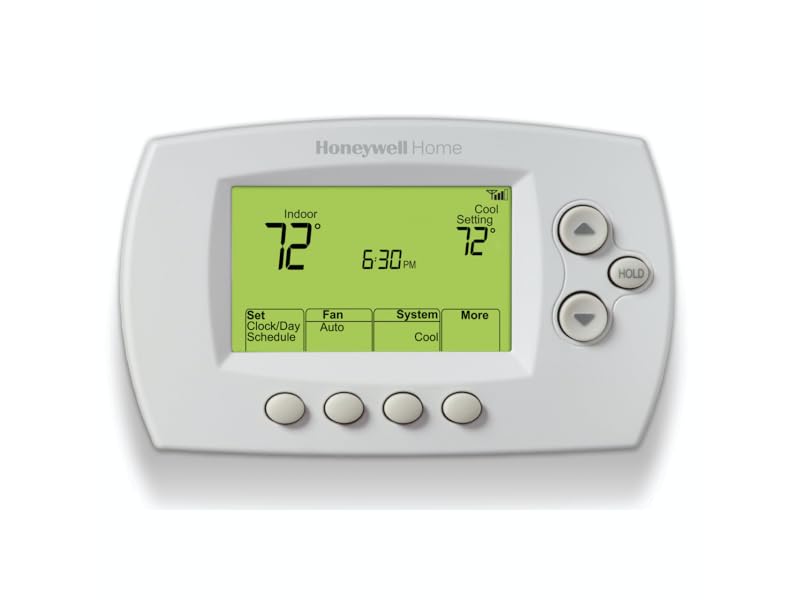
The Honeywell RTH6580WF Wi-Fi 7-Day Programmable Thermostat offers remote temperature control via smartphone apps, smart home voice assistant compatibility, and energy-efficient operation with Energy Star certification. Designed for easy DIY installation, it features a large backlit LED display and Smart Response technology that learns your home's heating and cooling cycles to optimize comfort and savings. Compatible with most forced air, hot water, steam, and heat pump systems (C-wire required), this thermostat delivers reliable, convenient climate management for modern connected homes.






| ASIN | B00Y6M2OUC |
| Backlight | Yes |
| Batteries | 2 AA batteries required. |
| Batteries Included? | No |
| Batteries Required? | No |
| Battery Cell Type | Lithium |
| Best Sellers Rank | #1,721 in Tools & Home Improvement ( See Top 100 in Tools & Home Improvement ) #9 in Home Programmable Thermostats |
| Brand | Honeywell Home |
| Color | White |
| Connectivity Protocol | Wi-Fi |
| Connectivity Technology | Wi-Fi |
| Control Method | Voice |
| Control Type | App Control |
| Controller Type | Amazon Alexa, Google Assistant, Vera |
| Customer Reviews | 4.2 4.2 out of 5 stars (15,394) |
| Date First Available | November 16, 2012 |
| Description Pile | Rechargeable lithium-ion battery included. |
| Display Type | LED |
| Finish | White |
| Finish Type | White |
| Included Components | Quick reference card, Quick start guide, Screws and anchors, Thermostat, Thermostat ID card, User guide, Wallplate (attached to thermostat), Wire labels |
| Is Discontinued By Manufacturer | No |
| Item Package Quantity | 1 |
| Item Weight | 1.2 pounds |
| Item model number | RTH6580WF1001/W1 |
| Manufacturer | Honeywell Home |
| Material | Plastic |
| Model Name | RTH6580WF1001 Wi-Fi Thermostat |
| Mounting Type | Wall Mount |
| Number Of Pieces | 1 |
| Number of Batteries | 2 AA batteries required. |
| Part Number | RTH6580WF1001 |
| Pattern | Solid Color |
| Power Source | Corded Electric |
| Product Dimensions | 1.5"D x 5.75"W x 3.5"H |
| Shape | Rectangular |
| Size | 3.5 x 5.75 x 1.5 (H x W x D) inches |
| Special Feature | Auto Changeover, Daylight Savings Time Ready, Energy Star certified, Smart Response Technology, Wi-Fi enabled |
| Special Features | Auto Changeover, Daylight Savings Time Ready, Energy Star certified, Smart Response Technology, Wi-Fi enabled |
| Specific Uses For Product | Air Conditioner, Furnace, Heat Pump |
| Specification Met | energy,energy star certified |
| Style | A. Wi-Fi Thermostat |
| Temperature Control Type | Heating and Cooling |
| Type of Bulb | LED |
| UPC | 085267771955 |
| Voltage | 24 Volts |
| Warranty Description | Warranty. |
| Wattage | 24 watts |
T**S
Great Thermostat- Bought 5 of them!
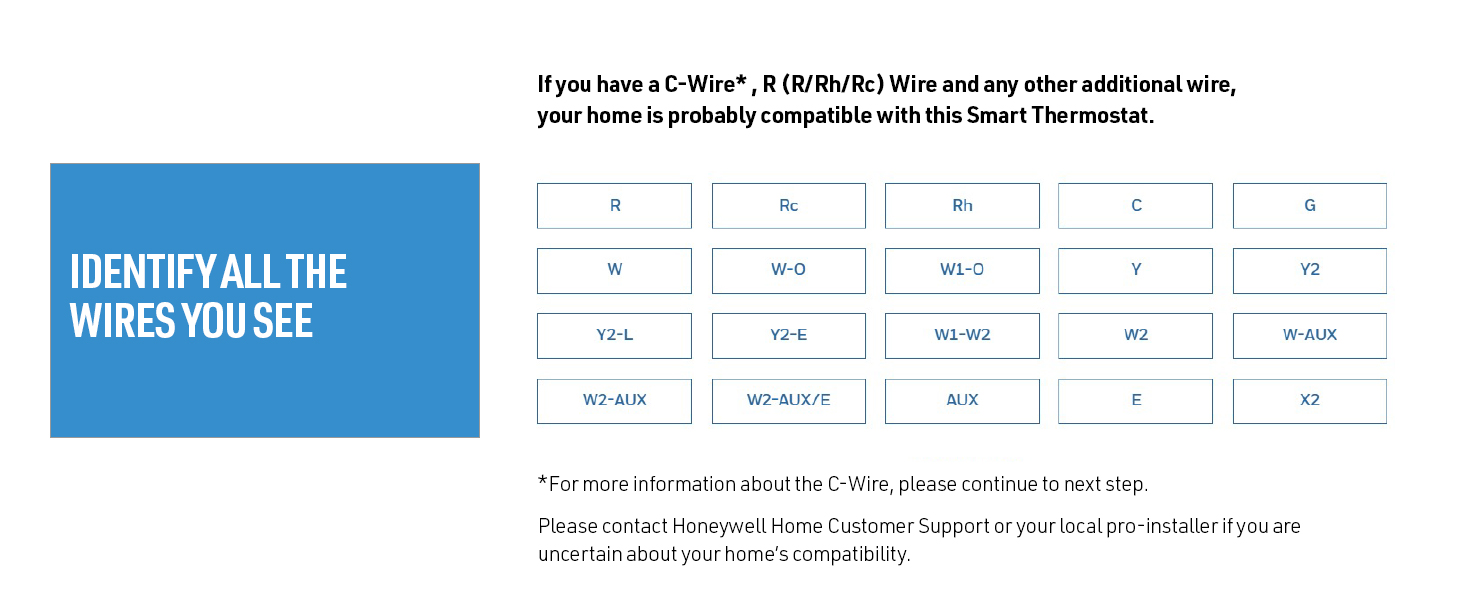
Really impressed with this thermostat. After easily replacing the first one, and finding how easy it is to remotely monitor and control my HVAC, I bought 4 more! The first one I bought was for a vacation condo that had the heat fail. Fortunately we caught it before the pipes froze, but I wanted a way to be alerted if it happened again. In searching for such a device I came across this thermostat, and not only will it send me an email based on various parameters I can set, but it also lets me view the current temperature, set a schedule, or manually change the temperature. Really convenient to turn the heat up a few hours before arriving in the winter! Anyway, here are some helpful hints as far as installation: 1) Be certain your unit comes with the right manual! Of the 5 I bought, 4 had the correct manual, and 1 had a manual that looked identical on the cover, had the correct part number, but had different instructions for the initial programming. If you receive a manual that has system set up starting on page 54 using four digit codes, IT IS INCORRECT. The correct manual uses 1 or 2 digit codes and starts on page 50. If I had only bought one unit, and received the wrong manual, I would have had no idea how to proceed. 2) Yes, you need a "C" wire. This provides the common side of the 24 volts AC required to power the thermostat. Previous Honeywell programmable thermostats used batteries to power the thermostats, and conventional thermostats do not require power. Of the 5 units I installed, 2 had no "C" wires but did have a spare I was able to connect at the transformer in the main unit (1 HVAC, 1 oil burner / heat only), 2 had a "C" wire (both heat pumps) , and one system that used one conventional thermostat to go to separate heat and AC units had no "C" wire and no spare, so I had to run a new thermostat wire. 3) A laptop or tablet will greatly simplify your initial installation. After you power on the unit for the first time. "wfi setup" will flash on the display. Just use your tablet or laptop to search for available wireless networks. You will see "new thermostat" as an available wireless network. Connect to it and open a web browser. If it fails to automatically direct you to the setup page, just enter 192.168.0.1 It will walk you through the entire setup, and provide a link to create a free Honeywell account to connect to your thermostat from a PC or smart phone. It will even automatically connect you back to the wireless network you were using before connecting to the thermostat. The "wifi setup" will stop flashing and you will see an icon indicating signal strength on the thermostat. You can also have it send you an email if the thermostat loses connection to the network. 3) Once you create a free account with Honeywell, you can view current room temperature, the outside temperature (based on where you tell Honeywell the thermostat is located, not an actual sensor), set / change / override schedules, or turn the system on or off. 4) Don't forget to program the thermostat for the type of system you have- see page 50 in the manual. Very easy to do. One trick I discovered is that if you have a Rheem heat pump, function 2 must be set to a value of "1". And of course, the location where the thermostat is located needs to have wifi, with or without encryption (It gives you an option during setup to choose what SSID to connect to and to enter the code if required). Overall, I am extremely pleased with this product, and not only expect it to provide peace of mind, but also expect to save money on my utility bills and have a convenient and centralized way to control all of my heat and air conditioning units.
A**N
Good Choice, Solid Performance
Bottom Line: The installation was ALMOST effortless, and the performance has been rock solid. I'm very pleased by the unit and would certainly buy it again. I, too, had to unplug the unit once during installation in order for it to complete the temporary wifi connection to my android phone. However, that was the only hiccup. Otherwise, the installation went smoothly. In short order, the wifi link to my WPA2-encrypted router was complete, using a 2.4 GHz channel per instructions. For the past month, I've monitored the home remotely to determine if I needed to engage the aux heat strips during unusually cold periods. I currently live 500 miles farther south, and have not yet moved into the home, so remote control of the HVAC was the purpose for the purchase. The thermostat interface is simple and basic, but entirely sufficient. I don't have to mess with it to see the relevant information; it's all there on the main display. As a recently retired electronics engineer, I have an extreme distrust of new technology, because most companies chase the easily-wowed but ignorant masses with pretty bells and whistles at the expense of design maturity and reliability. To a former design engineer for the military, this is a frustrating trend. Similarly, I cannot abide the intrusiveness and privacy concerns over voice-activated devices monitored by Amazon and/or Google (or whomever). You can do all that lazy nonsense with this thermostat, but I don't want or need it. I want and need rock-solid internet connectivity and sufficient remote control for when I'm in a different state and I'm worried that the heat pump won't be able to pull enough heat out of the air to warm the house. And in this scenario, Honeywell delivers. As with all purchases, particularly electronics, there is a risk of buying a lemon or experiencing infant mortality with one or more electronic components. Fortunately for me, I saw no evidence of quality concerns with the device. It appeared well-made, competently assembled, and sufficiently documented. I do urge people to follow the instructions carefully and slowly. I suspect I moved too quickly, possibly doing steps out of order, which may have caused my wifi hiccup. Either way, it was easily corrected with the power cycle and more carefully following the instructions. I have no issues with the phone app. It works fine and allows me to do everything I want to do. It's streamlined, effective, and reliable. Surprisingly, it doesn't annoy with poor design details or irrelevant BS. (Not looking to be entertained by my thermostat. I just want the bloody thing to work and do what I tell it to do, when I tell it, without becoming a new and contrary personality in my life.) In this regard, the app has been a pleasant surprise. In summary, if you are looking for a solid performer and you value reliability over gee-whiz style and the latest marketing fad, then consider the Honeywell RTH6580WF. It's a very good value, delivering full performance at a much lower cost than most alternatives. Consider repurposing all that saved money towards something of greater life impact than a "stylish" thermostat. Good luck.
E**S
Me ayuda a ahorrar energía porque puedo programar toda la semana el cambio de ajuste de temperatura o apagado del equipo y así, si se me olvida apagarlo lo hago a distancia y si mi rutina permanece el equipo arranca cuando lo necesito y se apaga cuando no estoy.
R**I
Not easy to use also the application not work in UAE
L**Z
Good quality Honeywell Controller
A**O
non utilizzabile in Italia
S**D
قمت بشراء ١٦ وحدة، كل شي جيد ولكن النقطة الأساسية وهي خاصية شبك الواي فاي صعبة ولكن بعد معاناة نجح، ويعمل بطريقة سهلة جدا واي فاي
Trustpilot
3 days ago
1 month ago