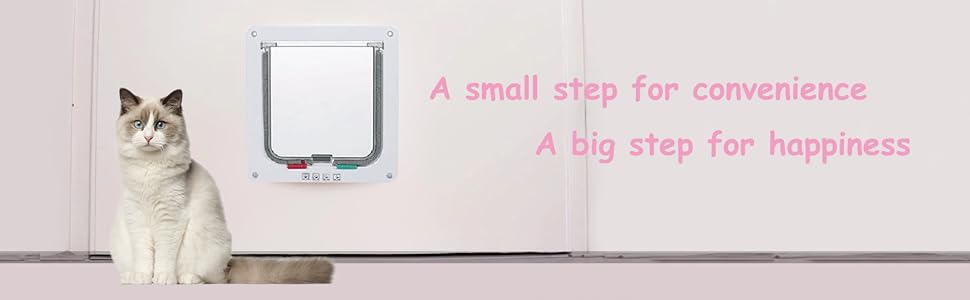
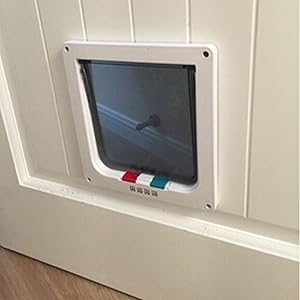
🐾 Unlock Your Pet's Freedom!
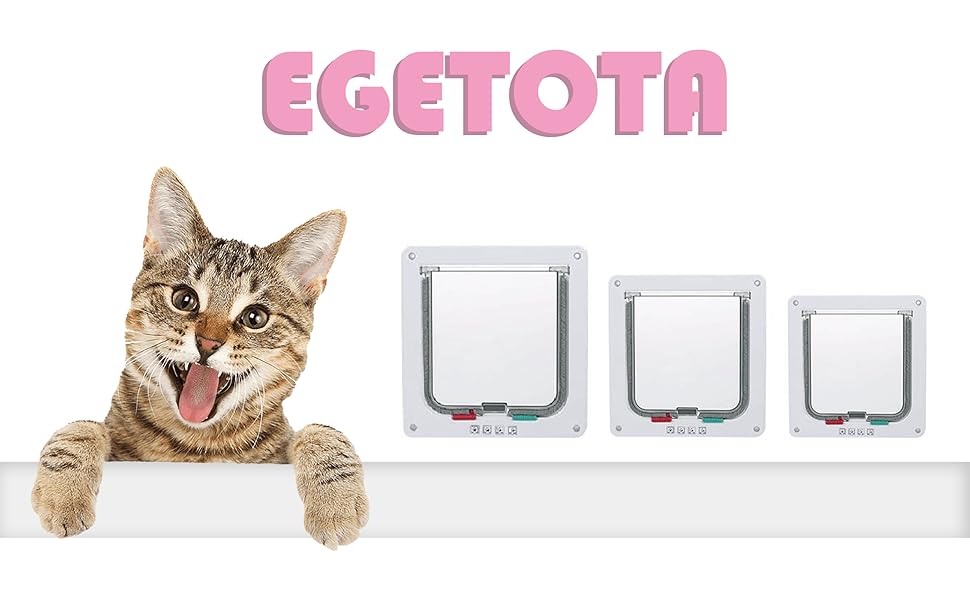
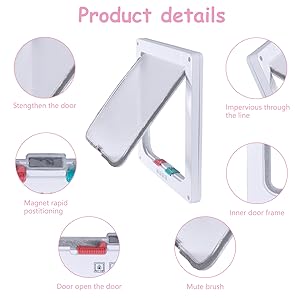
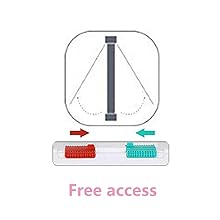
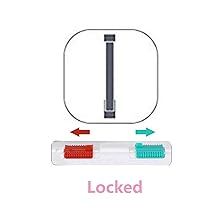
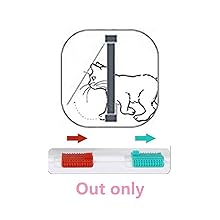
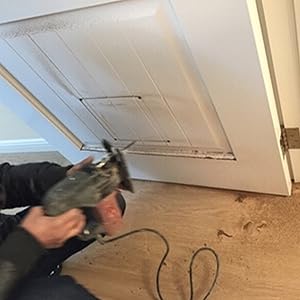
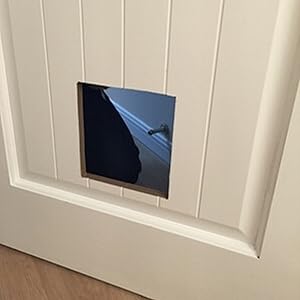
The goTeamghjkl Cat Door Flap is a versatile and weatherproof pet door designed for cats and small dogs. With an outer size of 7.5" x 7.8" and a 4-way locking mechanism, it allows for easy control of your pet's movements. Made from durable ABS material, it features a smooth surface and a weather-resistant brush strip to keep out rain, wind, and pests. Installation is straightforward, making it suitable for various applications including doors, walls, and windows.
J**A
Excellent quality for the money
Way better than the one I bought from Chewy at almost half as much. Wish I’d put this one on my exterior door and the other one in my bedroom but it’s too late. The other one was so crappy I had to caulk it in so it’s not going anywhere.
C**A
Happy Cats
Our cats would not be able to be indoor/outdoor cats without this! Easy to install and once the cats got used to it ideal for them to have all the independence they need and want.
G**.
Works! Just a few small hitches
Installs easily. Cat uses! Occasionally the door flap sticks in the open position. After a few weeks, the plastic door gets scratched and smeary-looking, and doesn't fully clean to original clear state.
K**N
Pretty Nice Cat Food.
Well made Door. We have several cats only 2 will use it right now and that took several days. The rest we have to crack it open just a bit to get them to say "oh ok I can go though that" lol. Have patience i suppose. I hope they all get use to it.Also you may want to order a size up from the one you think you need. Me and my cats I think would of liked it better.
D**A
Works great !
We installed this in our door to the basement and laundry room where we keep our cats litter boxes! Not too difficult to install
J**G
Good product. Terrible instructions! Better instructions written below!
The product works well enough. I was just getting tired of making absolutely sure that I keep the bedroom door open a smidge so the cat can go out and snack and use the litter box so I got this to put a hole in my interior bedroom door. For that purpose, this product is fantastic.HOWEVER:The instructions are pretty terrible. It does not recognize that you have to have a "pilot hole" drilled so that you can even put a saw blade through to cut. It also instructs you to drill holes right were you would screw in the frame to secure it to the wood of the door.I ended up making a hash of it with the cut being visible even after I screwed in the frame but whatever... I just needed a hole. What I ended up doing was making a combination of good calls and bad calls because the instructions were not useful:- GOOD CALL - I drew the template on paper first. More accurate and easier on the back than trying to scribe the damn thing on a vertical surface on the floor. I was also kinda pissed that they did not INCLUDE A TEMPLATE! lots of other of these kinds of products DO. Anyway, to draw your own, just tape two pieces of paper together and trace away.- GOOD CALL - I drilled the holes large using a 5/16" in bit so i had a chance of sliding in the dry wall saw I was going to use. I did not have access to an electric jigsaw and as i turned out, my interior bedroom door was hollow so it was fine for the task.- BAD CALL - I drilled the holes at the points where i traced the from the frame where the screws are supposed to go. At this point in the process, I wasn't thinking very much about how this was going to go so I just ASSUMED that the frame was meant to screw from one side of the frame to its mate and friction fit to the door. I glanced a few times at the screws that came with it and should have known they wouldn't be long enough to do that but I drilled what I drilled.WHAT YOU SHOULD DO:1. Get your taped together pieces of paper and trace the outline of the frame - the outside perimeter AS WELL as the inside hole.2. Use a piece of pencil lead for a mechanical pencil to push through the screw holes to draw on the template where the screw holes are. You're going to have to use something like that because no pen or pencil is going to get through the depth of the frame to be able to leave a mark on the paper. Alternatively, you can place the template on top of the frame where where the holes are nearest to the paper and just punch holes with a pen in the right place.3. So now you have TWO OUTLINES, the inside outline and the outside outline. What you need to do is DRAW A THIRD OUTLINE BETWEEN THE TWO. The inner outline is not rectangular - it has curved bottom corners. Ignore that and make your third outline rectangular and as simple to cut as possible. Make SURE that the outline does not touch the OUTER outline... otherwise, you may have a gap on the OUTSIDE of the frame when you're done. ALSO, make sure that the line is not near the screw hole points that you marked on the template. You're going to need to drill holes, but you are NOT going to drill them to coincide with the screw holes.4. After you've completed drawing your third outline, you are going to mark drill holes in the middle of each side of your rectangle. don't go for the corners because then, you may over-drill and drill out the part of the door where you need to screw the frame to.5. Use a level or measure from the bottom of the door so that the frame would be level and straight. Use the guide for high how high away from the bottom of the door from the included instructions (just about the only helpful thing). For me, it was about 4 inches from the bottom of the door.6. Tape the template do the door.7. Drill the big holes.8. Use the holes to insert the blade of your saw and start cutting.9. In drilling and cutting, take care to be AS PERPENDICULAR to the surface of the door as possible... if you drill in or cut crookedly, the cut on the other side of the door will not line up properly with the hole you're cutting on the near side (it's like shooting a gun, a little unintentional angle at the point of shooting results in a large offset at the target - in this case, the other side of the door which is a couple of inches away).That's the tricky stuff. The rest is just putting the frame on either side of the door and screwing the frame to the door on both sides. You can probably just use an electric screw driver to drive the screws into the door but if at this point, that's not working, you can use a small gauge drill bit to drill pilot holes for the screws. Just remember that the drill bit should be NARROWER than the screws provided.
O**.
Cat door
Great materials feels very sturdy for a cat door seems easy to fit or to fit on door i like it
L**E
Locks by itself
The lock slides over by itself and locks my cat in or out so I didn't like that but I broke off the lock and still use it
Trustpilot
2 weeks ago
2 months ago