🖤 Elevate your build with Zalman T6 — where style meets unstoppable performance
The Zalman T6 ATX Mid Tower PC Case combines a sleek black powder-coated steel chassis with a patterned mesh design and a pre-installed 120mm fan to deliver superior cooling. It supports ATX, mATX, and mini-ITX motherboards, offers versatile drive bays including a 5.25" external bay, and features front I/O ports with USB 3.0 and USB 2.0 for seamless connectivity—perfect for gamers and professionals seeking a durable, stylish, and efficient workstation case.
Number of USB 2.0 Ports | 2 |
Number of USB 3.0 Ports | 1 |
Brand | Zalman |
Series | T6 |
Item model number | T6 |
Operating System | Windows 10 Pro |
Item Weight | 8 pounds |
Product Dimensions | 7.87 x 16.93 x 14.84 inches |
Item Dimensions LxWxH | 7.87 x 16.93 x 14.84 inches |
Color | Black |
Number of Processors | 1 |
Computer Memory Type | DDR4 SDRAM |
Hard Drive Interface | USB 3.0 |
~**~
Great for what it is
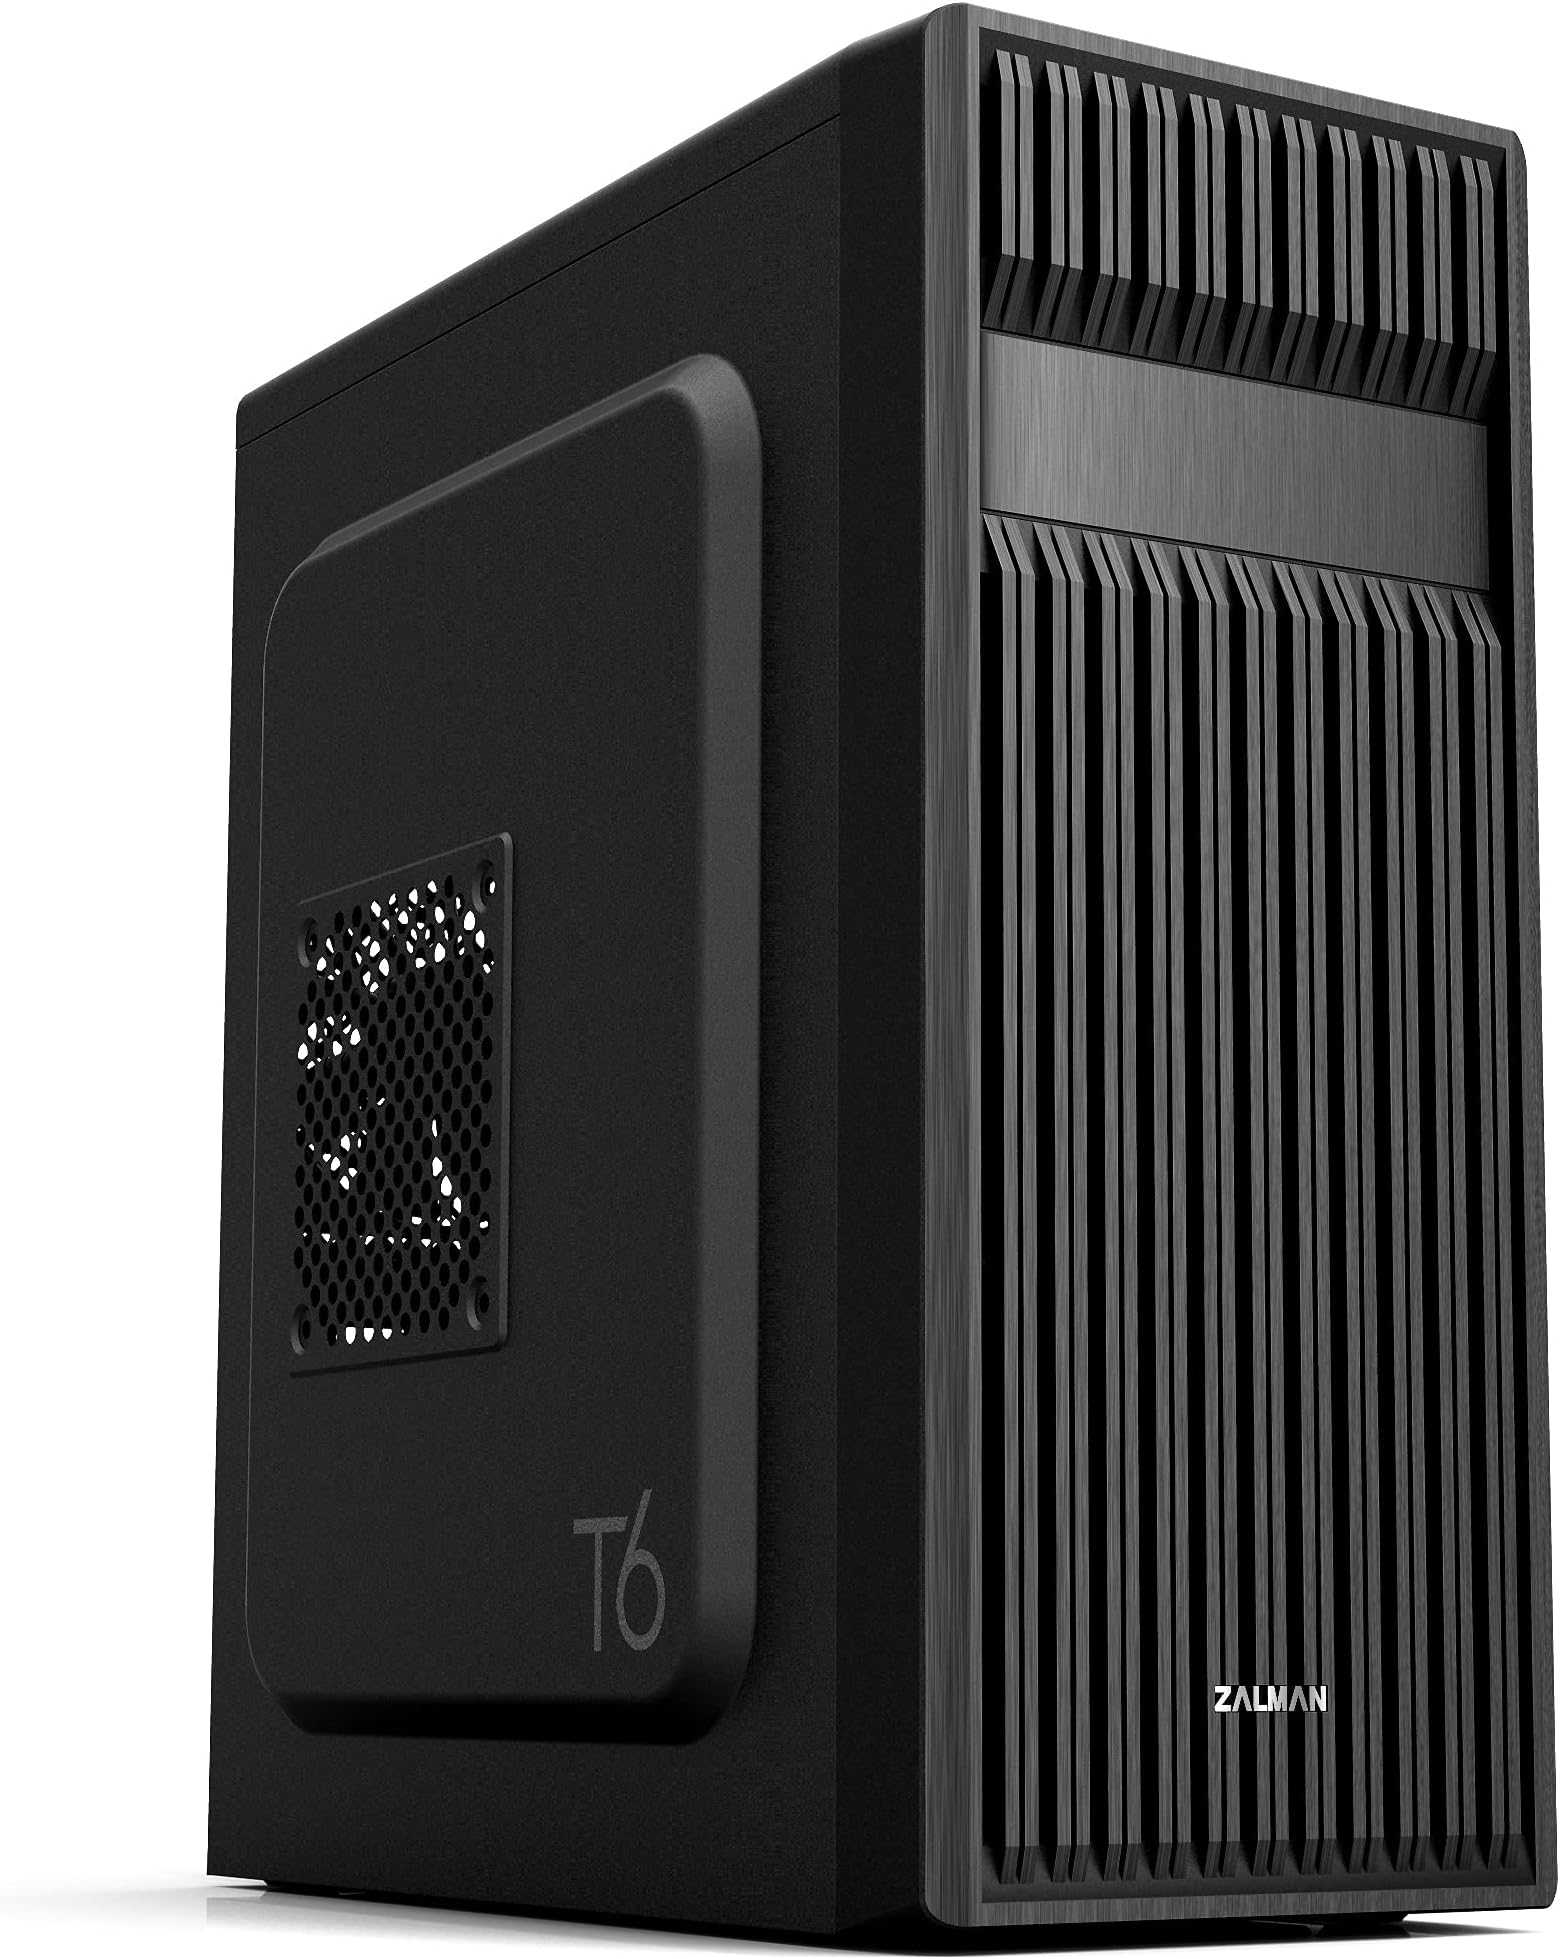
This is a great case as long as you know what you are in for. Can you build a gaming pc in it, yes. Should you, no. Mainly due to cooling potential. This is, however, an ideal case for a workstation. I will be using it to build a new pc for my senior-citizen relatives.Pros: low cost, lightweight, has a 5.25inch bay for optical drive, surprisingly small for an ATX mid-tower case (fits a full size ATX motherboard easily).Meh: metal is thin (contributes to both light-weightedness and top-heaviness). No venting on the top or bottom (good or bad is use-case dependent). Finally a very minor issue, IF you are using this case for ATX build, be aware only 6 of the 9 necessary motherboard standoffs are pre-installed, the remainders/extra are included with the other hardware but must be installed yourself.Cons: Biggest issue for me is the mount for the power supply is at the top and makes it very top heavy, definitely would have preferred psu mounting on the bottom for such a lightweight case. Might not be ideal for beginners as the case is very tight with ATX build and can be difficult to work in, let alone cable manage. No USB-C on the front I/O panel. All the screws come together in one bag with no separation, 3 types of screws, 4 if you include mb standoffs, all in one non-ziplock bag... irritating.Personal: Zalman is a trusted brand. In the last 22 years I've had 3 pc cases and 2 were Zalman, which lasted about 18-19 of those years. Overall, this case is great. But again, it depends on your what you'll use it for. I am using integrated graphics from cpu and a low profile cooler which means there is a lot of empty space in the case, which likely contributes to the top-heavy nature I previously mentioned. That being the case, I wish there was a version where it is half the width and the spot for the optical drive was rotated 90 degrees to remain included, a bottom mounted psu, and perhaps more venting on top to compensate for the smaller size and fan size.
C**T
Very Good Case at my Price Point
I needed an inexpensive mid-sized case for an ATX MoBO build which I was transferring from a much larger case. I needed this case to fit under a particular piece of furniture. Bottom line, this fit the bill nicely. Couple points:Metal sheet is pretty thin, which makes for a light case, but it's not real heavy duty. I used (and recommend) at least one aftermarket fan in the front to pull air in to the case (I used two). These need to be installed before anything else (another buyer noted that same point) particularly if putting in a full ATX MoBo. You will not have the room after the board is in to get the fan screws in place. The front plastic panel is most easily pulled off from the bottom. Just be gentle and firm and it will pop right off. Goes back on easy as well.Recommend removing the enclosed exhaust fan prior to mounting the MoBo. You'll need some maneuver space.I had 2 SSD's for this build, a 500 GB and 250 GB. These are mounted outside the main part of the case, which takes a little consideration for cabling. Easily done though.ATX MoBo is s tight fight, but it fits. Don't forget your standoff nuts, these are not all in place for the ATX board. I also used aftermarket cooling. The tower is too high to allow for a side mount fan in this case.Back panel is a little loosey-goosey. This is where the thin metal sheet is most evident. To allow for the GPU to seat one must pop out the panels. They will be destroyed doing this so make sure you line up your cards correctly. It looked wonky initially, but once the GPU was in place everything locked down tight, no issues.Power supply mounts on top, which I was initially a little concerned about but it worked out nicely. This particular power supply is not modular, so it's a bit of beast in terms of excess cables, but there was more than sufficient space to store them away. Since this isn't a display build I did not concern myself with fancy cable management, a few enclosed zip ties to keep things tidy was about it.So again, good case for the money. Not sure I would use it for my first build though. I'd recommend laying out a little more to get a more modular and flexible case, something with a bit more room and more heavy duty. However if you've got a build or two under your belt, and you aren't concerned with being the Michelangelo of PC building, this will work fine.
W**R
Inexpensive and Lightweight and just perfect for my build.
The case is inexpensive but sturdy, especially once you start mounting stuff in it.Removing the metal punch-outs for Optical drive and Video Card requires in addition to pushing the with your fingers bending the metal with a pair of pliers and then using a small file (and a paper or tissue underneath to catch the filings) to remove the resulting sharp metal jagged edges.There are about a dozen motherboard stand-offs included, which require a 3/16" or 5mm socket to screw into the case.I used a flat tip medium size screwdriver to start to pry the front panel, after which it came off easily.I removed two adjacent rear punch outs and also the thin section between them (which bent easily) to mount the double width video graphics card.And of course using a small file (and a paper or tissue underneath to catch the filings) to remove the resulting sharp metal jagged edges.I mounted a single 120mm fan blowing air in the front.You have to mount the front panel and then insert the optical drive from the front, and then screw in the drive mounting screws.Tight fit with the power supply and optical drive up top, and tucking in and using cable ties to secure the cables somewhat so they don't fall down or wind up hitting the CPU fan blades.I took some pictures and captioned some of them to hopefully help other people see what could be involved in using this case.I like that this inexpensive case has an option for mounting an optical drive. Some of use still use CDs and DVDs for software and video and music.It took some time to get everything in and doesn't look the neatest, but the result is a small compact unit.
Trustpilot
2 months ago
1 week ago