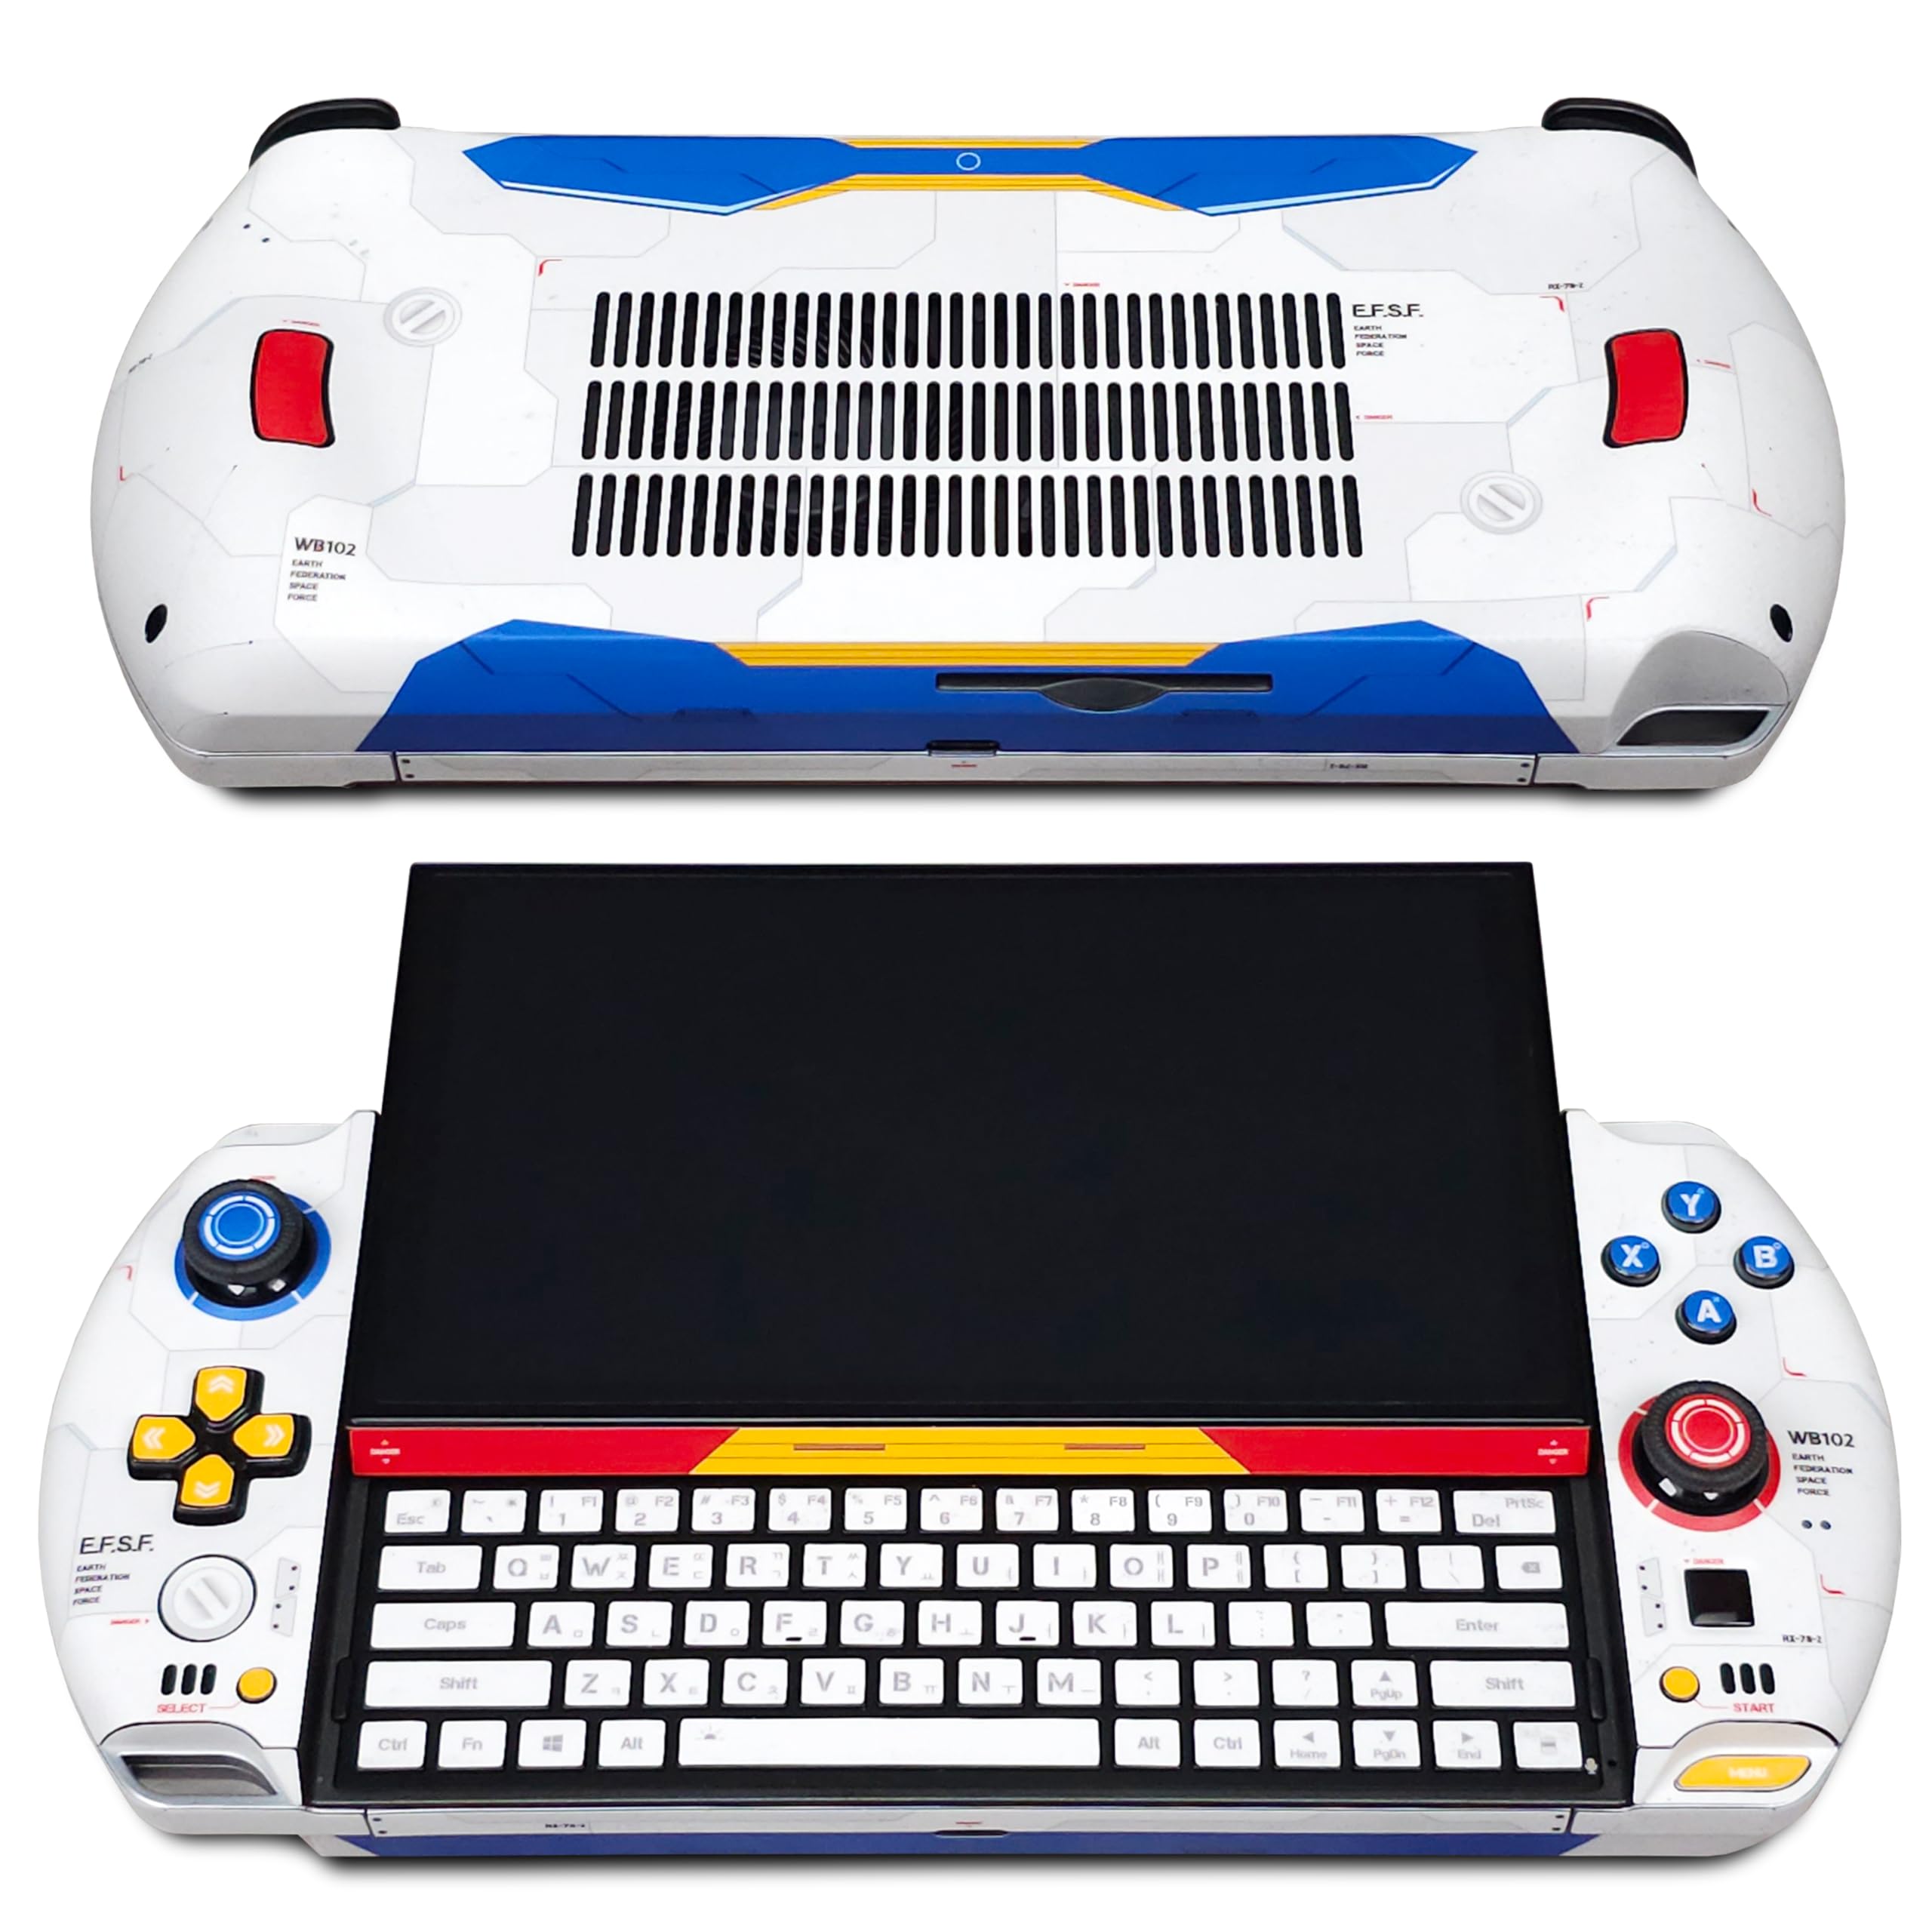


🎮 Wrap your GPD Win 4 in Gundam glory — style that plays as hard as you do!
The GPD Win 4 Matte Skin Gundam Edition is a premium, full-coverage vinyl wrap designed specifically for GPD Win 4 models from 2022 to 2025. Made in the USA with high-quality matte vinyl and eco-friendly inks, it offers precise fitting, UV and scratch protection, and a soft, anti-fingerprint texture. Installation is bubble-free thanks to air release channels and a pressure-sensitive adhesive, with a keyboard skin included. Removal is clean and residue-free, making it ideal for users who want to personalize their device with a durable, stylish Gundam-themed finish.
| Item Dimensions L x W | 5.9"L x 9.84"W |
| Material Type | Vinyl |
| Theme | Gundam |
| Pattern | Gundam |
| Color | White, Gray, and Blue |
| Compatible Phone Models | GPD Win 4 |
| Additional Features | Full covering matte skin |
| Compatible Devices | GPD Win 4 (Both USB A version and Oculink version) |
T**H
The Best Quality of This Kind.
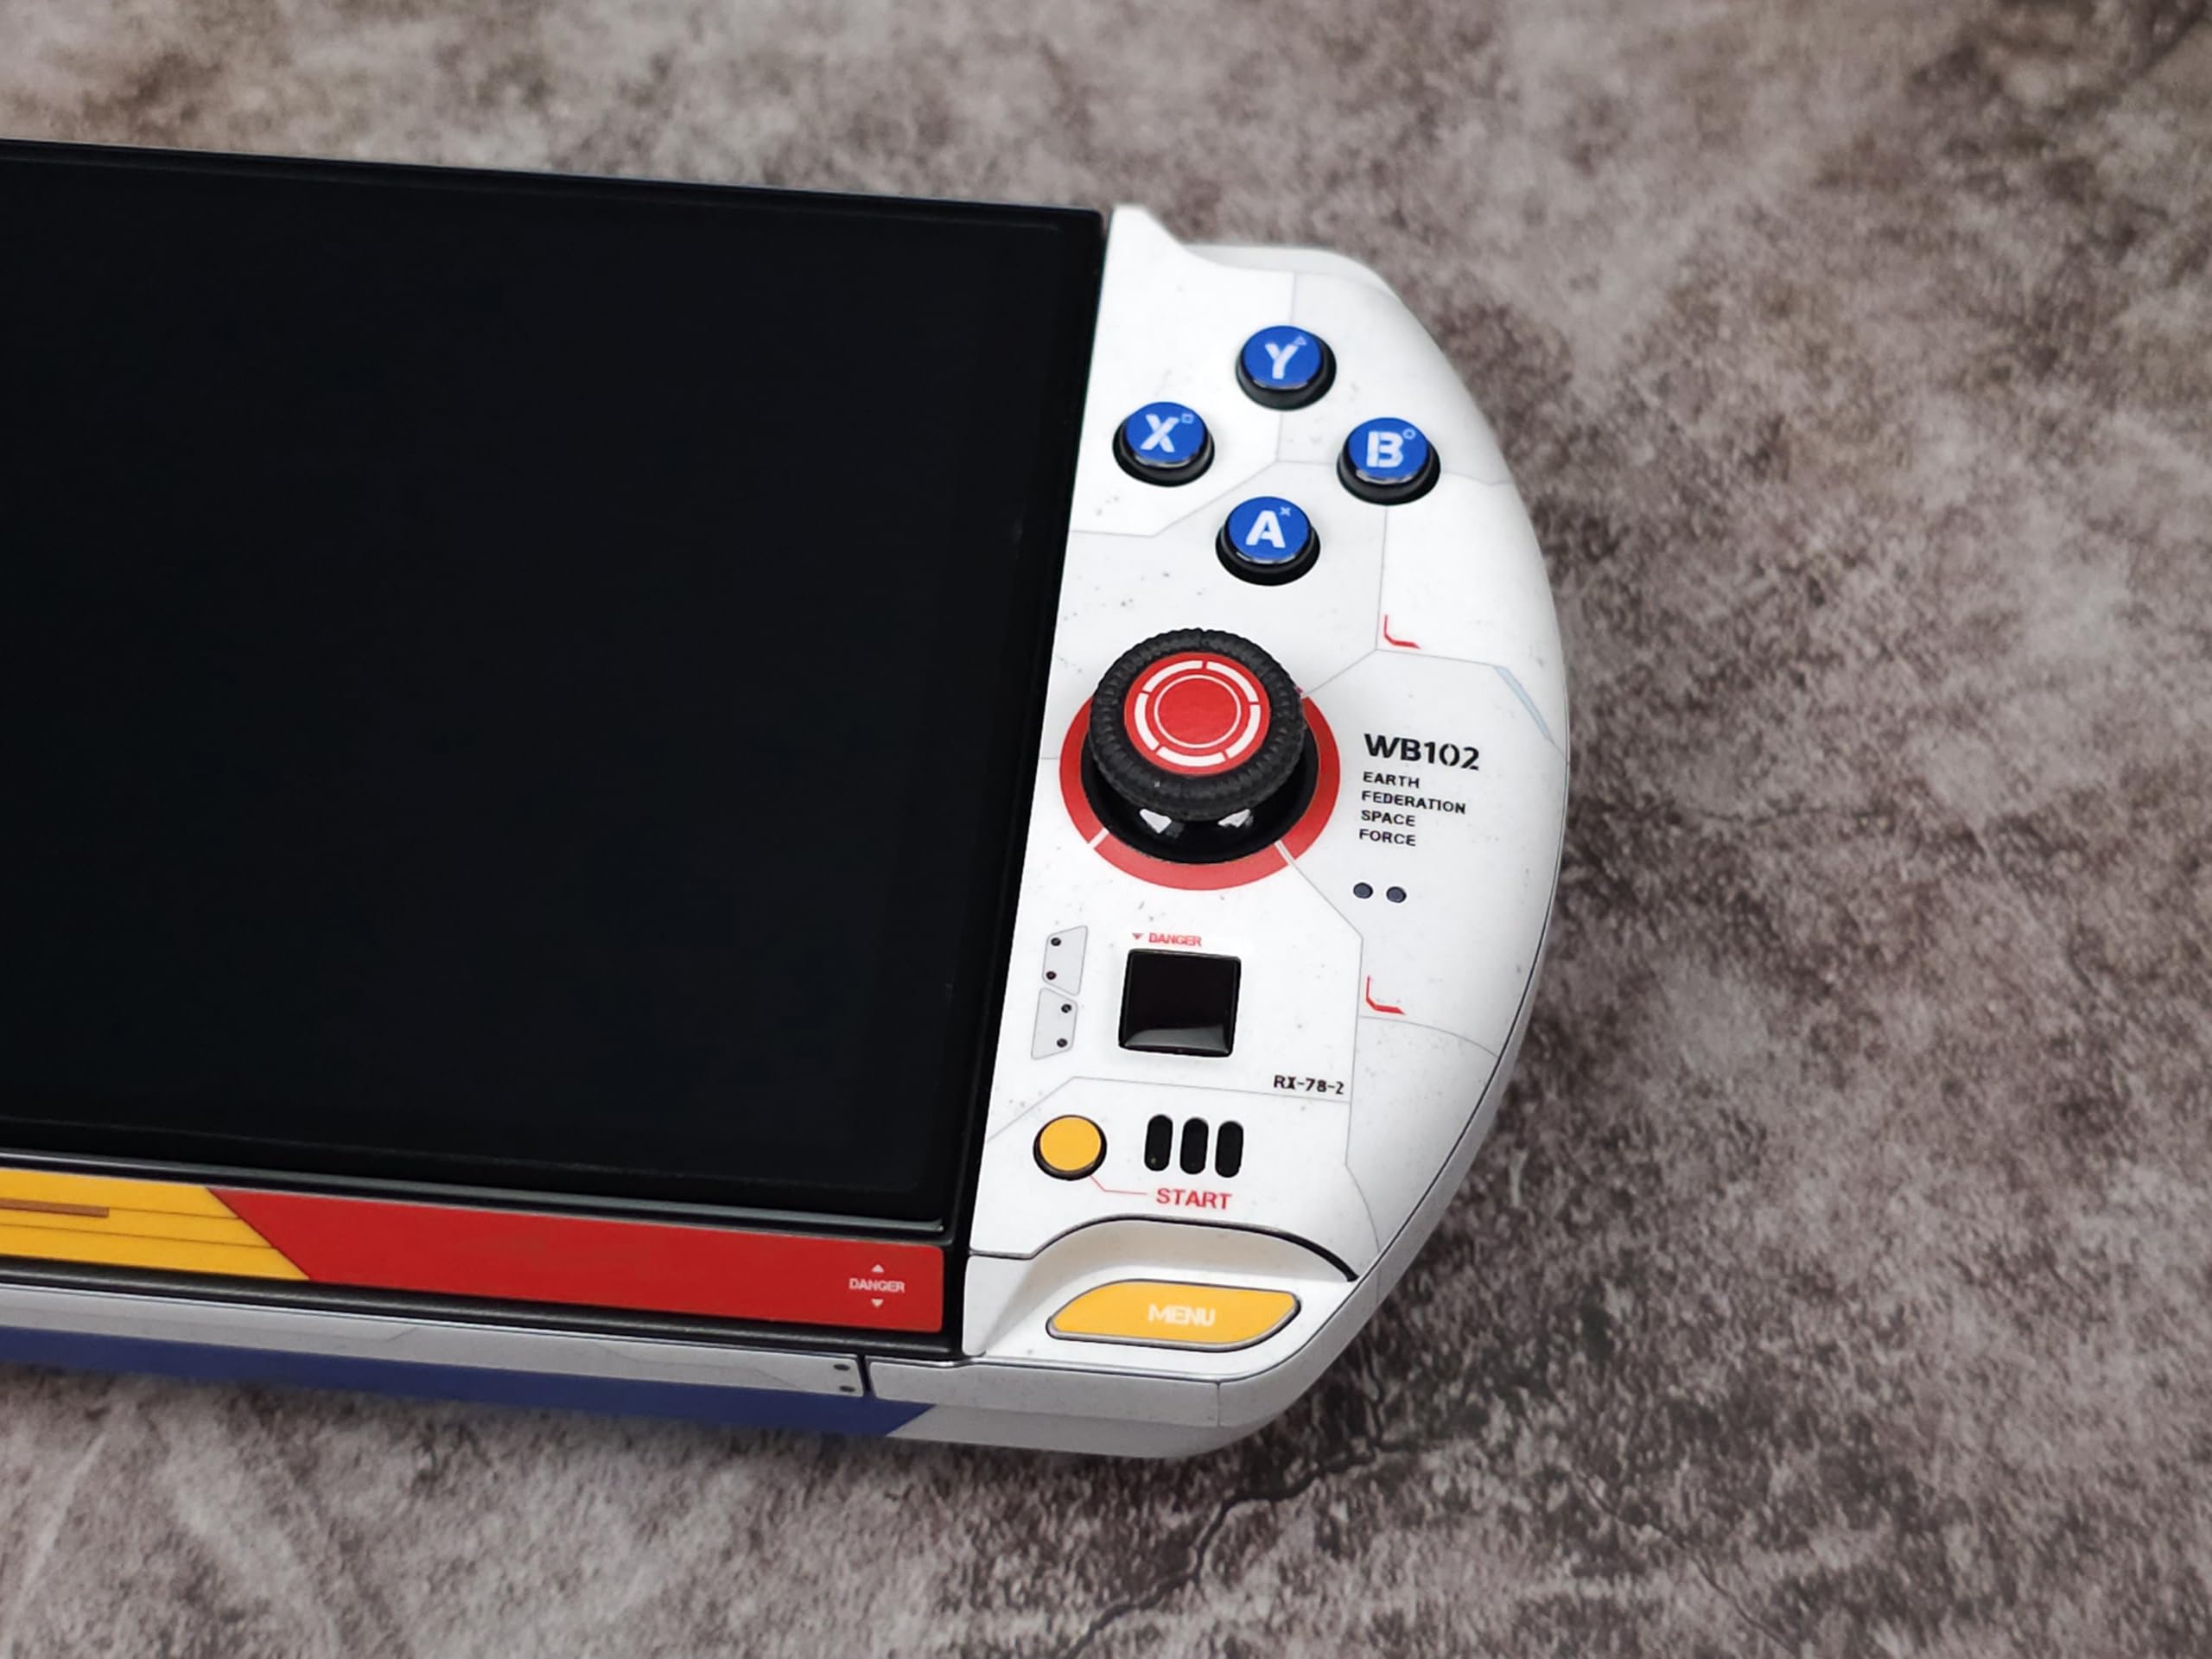
The fit and finishing on this skin is meticulous and the Matte feel is very soft.While I will admit that I did not apply every piece (I took the liberty to create my own look), I have no doubt that the custom work here paid off. If you have this in your cart, you know why you want it. Pull the trigger, you won't regret it. (Assuming you are willing to spend 1h+ to apply it properly)
K**.
Good but...
The skin is look nice and fits well after applying. But the only problem is that the thin transparent layer on the surface is very easy to peel off when our hands rub against the corners.
S**L
Found a way to keep back-lit keyboard A+ skin
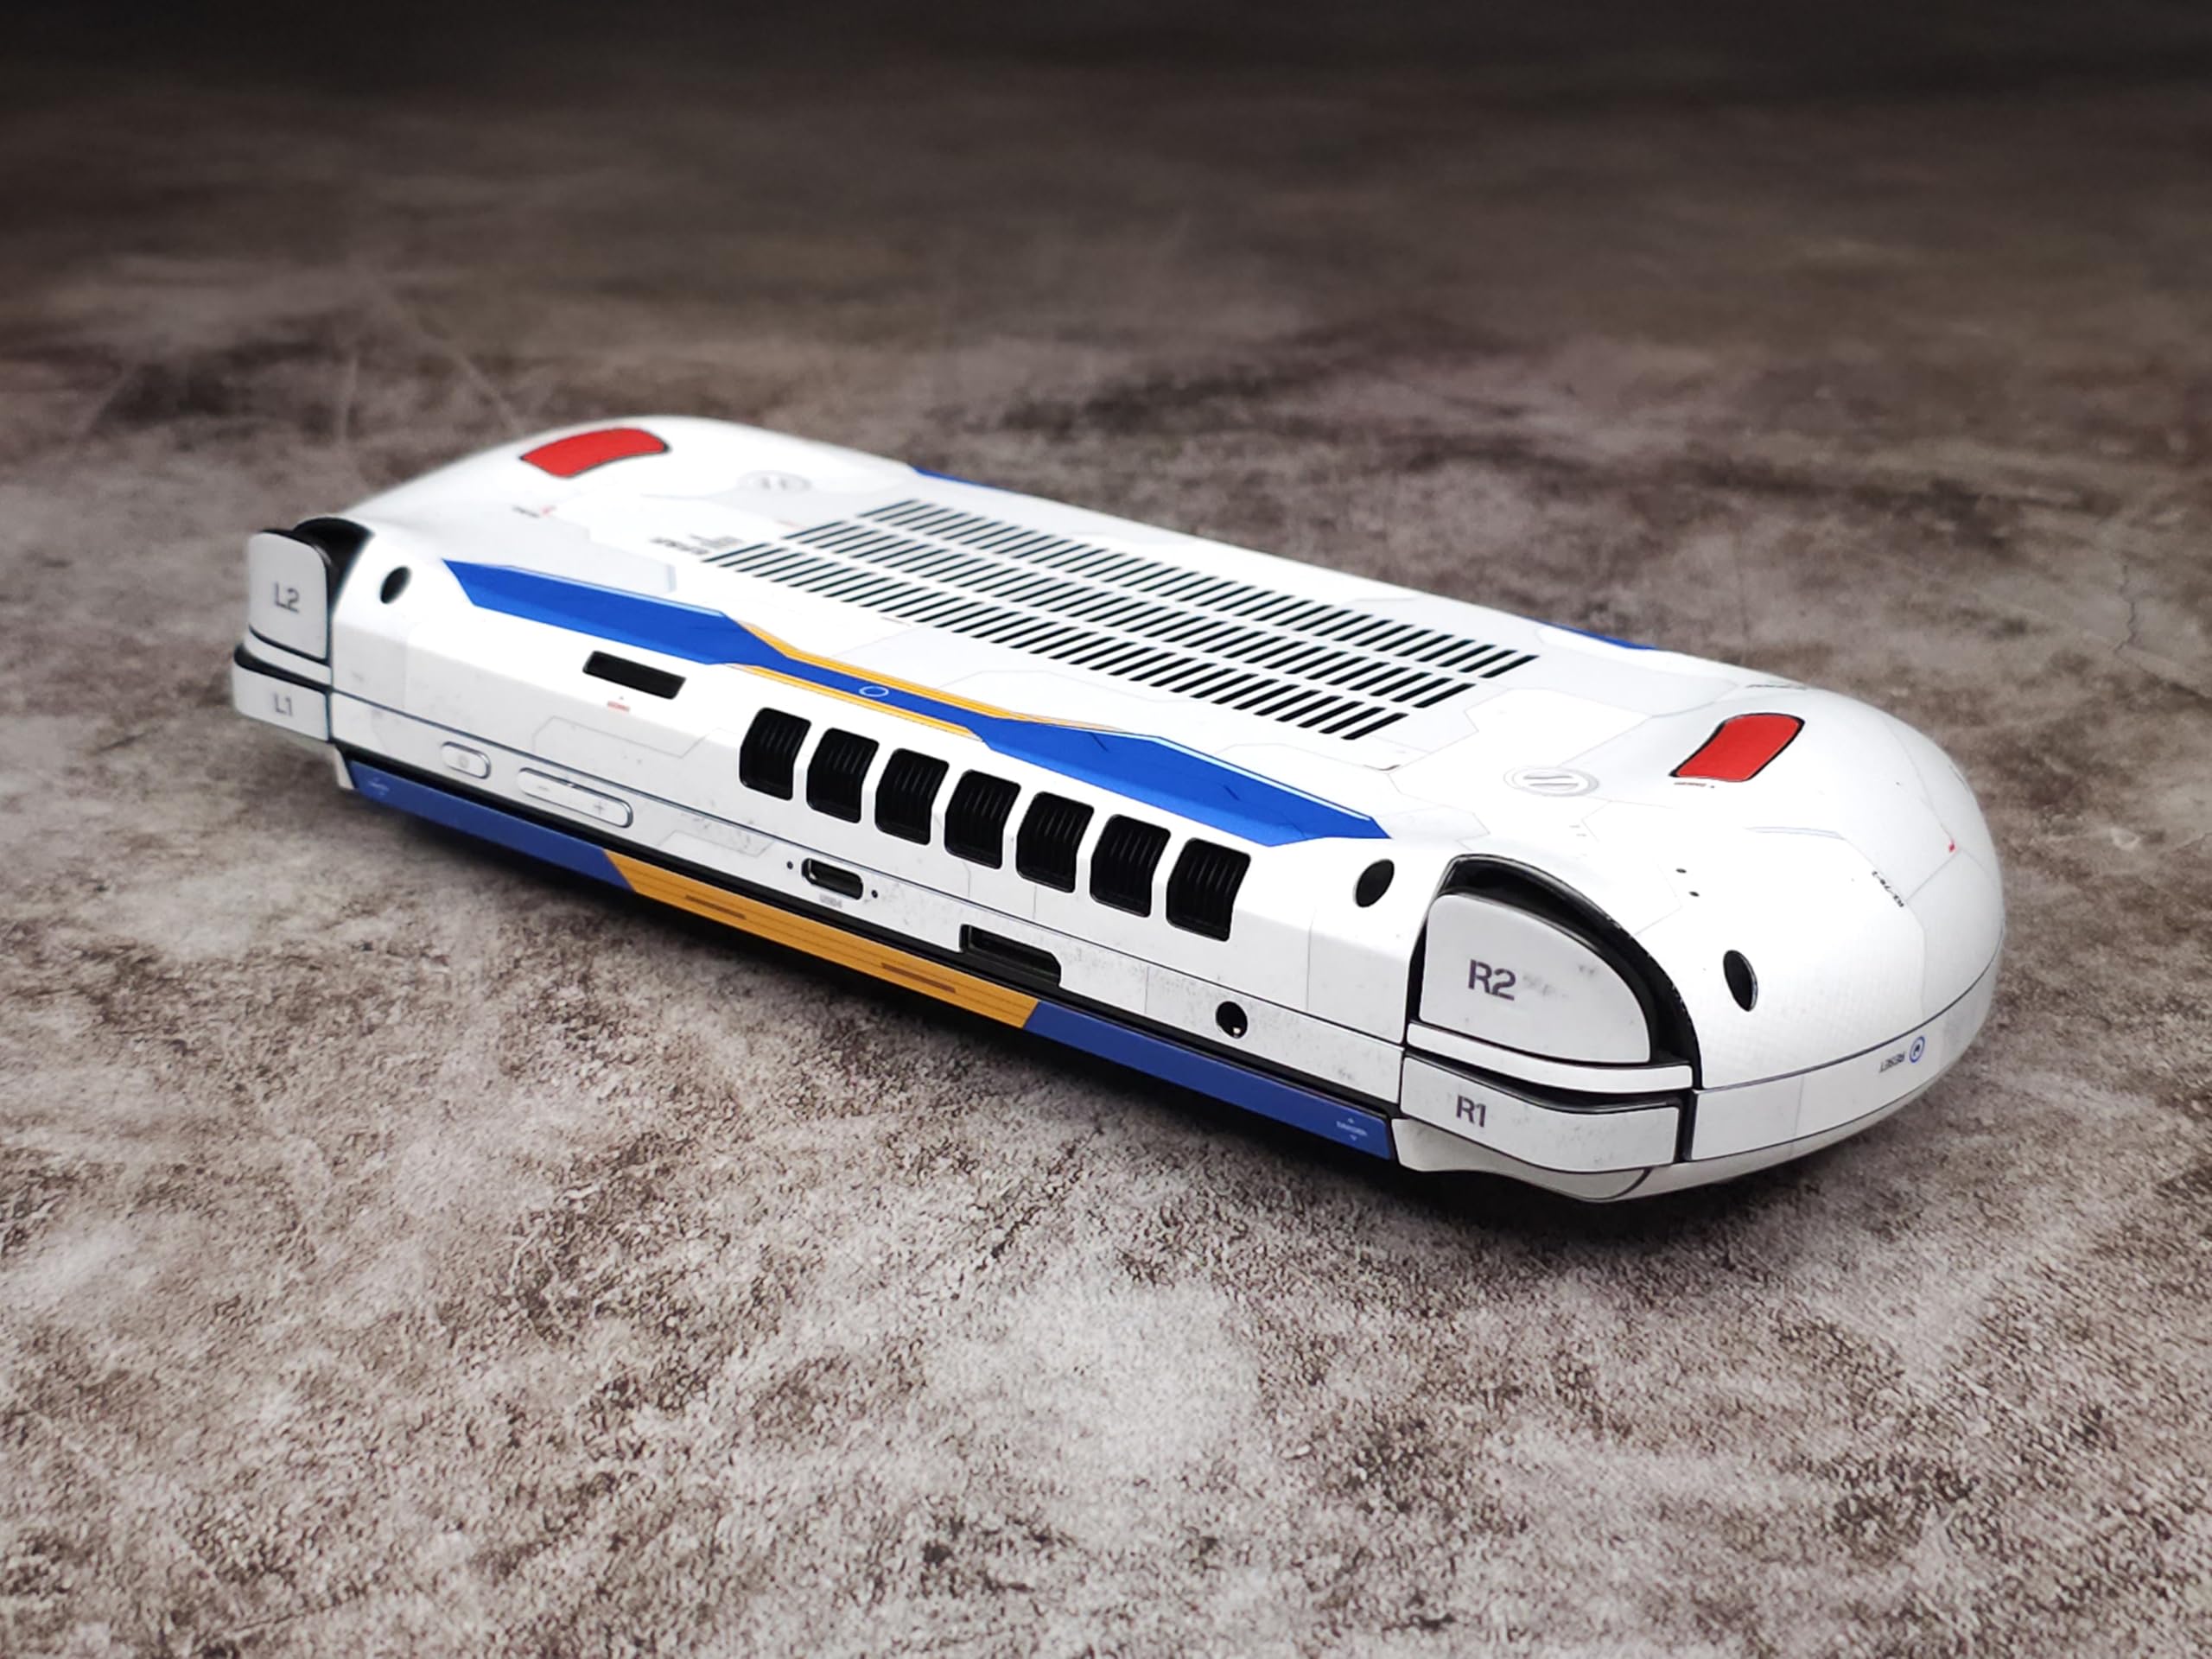
Note: I did not use all of the stickers provided, this product did include all stickers advertised and even a 2nd keyboard sticker set.It's a great skin and I have to say it took just under 6hours to fully apply, the end result is definitely worth it.In the photos you can see I altered the skin concept slightly, KEYBOARD STICKERS will block/hide the back-lit keyboard!!! Ignore the stickers for the keys and just use the outter trim like I done did, it actually was surprisingly easy with how I did it, instructions at the bottom of review :)L1/R1 also blocks the RGB which is kinda ridiculous but oh well. My GPD Win L1/R1 has that thick and dark smokey plastic making it hard to see anyways, and for the keyboard I went with the trim that no one expects anyone to actually use, and it turnt out beautiful!When applying the skin I found that everything on the front and sides of the GPD Win 4 was easily applied and smoothed out. I didn't use the d-pad stickers, Thumb print scanner sticker, start/select(back) buttons and mouse pad. This is because the ABXY stickers just didn't look as good as the black, the stickers also didn't feel like they'd stay on for too long.The back of this is the biggest pain in the arsenal any warlords ever faced, it's one massive sticker so be 10000% sure that YOU DO NOT COVER/BLOCK THE AIRFLOW! mine ended up alright, the airflow was set but sections of the skin won't smooth out regusrdless of rubbing it with a hair dryer.No big deal, it's a couple a small lumps that doesn't bother me when playing and passers by won't even notice.Overall it's a good a' show[ Instructions for a better keyboard layout ]Start off with removing these stickers from the sticker sheet itself;Shift (Both of them)EscDelSpace BarEnterRemoving these keys will allow you to line up the trim with 100% accuracyLeave the remaining stickers on the board and peel the entire sheet, try to keep all of the keys in place, the more stickers removed from the whole will cause the trim to because flimsyNow your should have the entire keyboard sticker piece in one bar with a hole where the shift keys, esc, del, space bar and enter stickers were located.Now it's as simple as making sure your keyboard sticker holes line up with the corresponding keys, lay it down and gently using a finger nail press down between the keys to get the trim in place starting from the centre and moving outward left, then starting again in the center, moving outward right. This motion will push air bubbles out of the way. (Since we're peeling the stickers off each key in the end, you can lay it down like normal though I would suggest precision)Last thing to do is peel off all the remaining stickers while leaving the trim, I had essentially just used my finger nail to rub the keys removing the sticker. I hope this helps you, it's what I did to end up with what you see in the images:)Bye bye
J**Y
Full Body Skin
One Of The Best If Not The Best Skin You Can Get For A Handheld DeviceUpdated with pictures of installed skin
Trustpilot
3 weeks ago
1 month ago


